Watch The Video
We’ve been laying a limecrete floor in Lancashire, helping eradicate a dry rot issue. With the foamglass down and wrapped in geotextile, the day of the limecrete floor was upon us! Watch the video below for a full day with UKRS and see in detail our mix and technique. Or… keep reading!
Preparation, and Dry Rot
A few weeks ago, we were under the floorboards in the chapel, removing some heavily rotted material. We’ve talked before about the dangers of dry rot and how it decimates a building from the inside. This chapel was badly ventilated and suffered from years of damp conditions. We extracted the rotten wood, had some dry rot specialists remove and destroy it, and planned out our new floor.
The Limecrete Mix
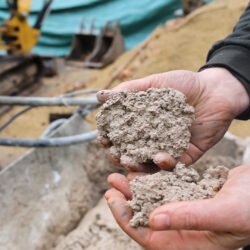
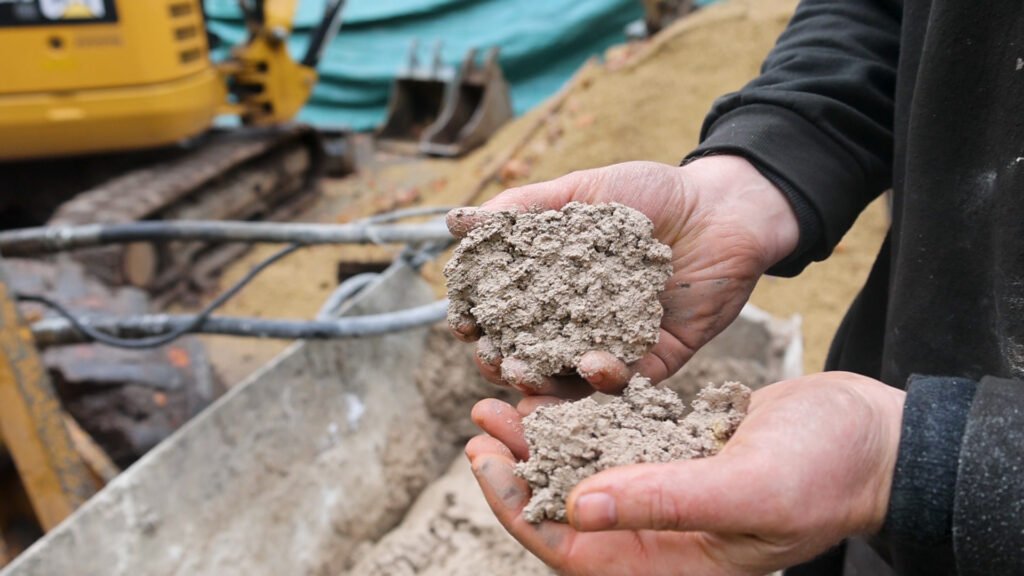
In the mixer, we have some 10mm to 6mm gravel which forms the main aggregate. You don’t want it much bigger than this; it’ll bind well at this size. For our coarse sand, we’re using Waddington Fell sharp sand. To keep each batch accurate, we’re using buckets as our measuring system, so it’s two aggregates to one sand. In each batch as well goes one bucket of NHL5. NHL stands for Natural Hydraulic Lime, and the 5 represents the strength, in this case, the strongest.
It all got merged and mixed in our big auger on site, with plenty of water poured in to bind it all together. To help with the binding, we also added synthetic fibres. The perfect mix is not as runny as concrete but still wet enough to be able to clump together. As Phil put it in the video, “it needs to be wet enough so it binds, but not too wet so it flows.”
Laying The Limecrete
1. Bring It Up
2. Tamp It In
3. Screed It Off
4. Rub It Up
5. Job Done!
Okay there might be a little bit more to it than that, but that’s its bare bones! The machine mixes everything up and it’s delivered to the room in wheelbarrows. The new floor consists of foamglass housed in a non-woven geotextile. This allows for breathability and makes a strong surface on which to lay the limecrete. The edges of the room are protected with a light foam to prevent any damage to the stone structure. Pour the limecrete in, and tamp it down with a eurothane float, or similar. The technique can be seen in the video but make sure you’re laying it flat and compacting it. We’re using a special railway-spec laser to monitor our floor depth, but pegs and spirits are a viable alternative.
Limecrete vs. Concrete
Why pick limecrete over concrete? Limecrete offers significant advantages over concrete due to its breathability and strength. The finished limecrete slab, in combination with the foamglass and geotextile underneath, can be a buffer to moisture vapour. Its thickness means that moisture does not penetrate through to the top, heavily reducing the risk of dry rot. It also stays stronger for longer, meaning a much lower chance of cracking over time.
For more lime-based loveliness, subscribe to our YouTube channel!