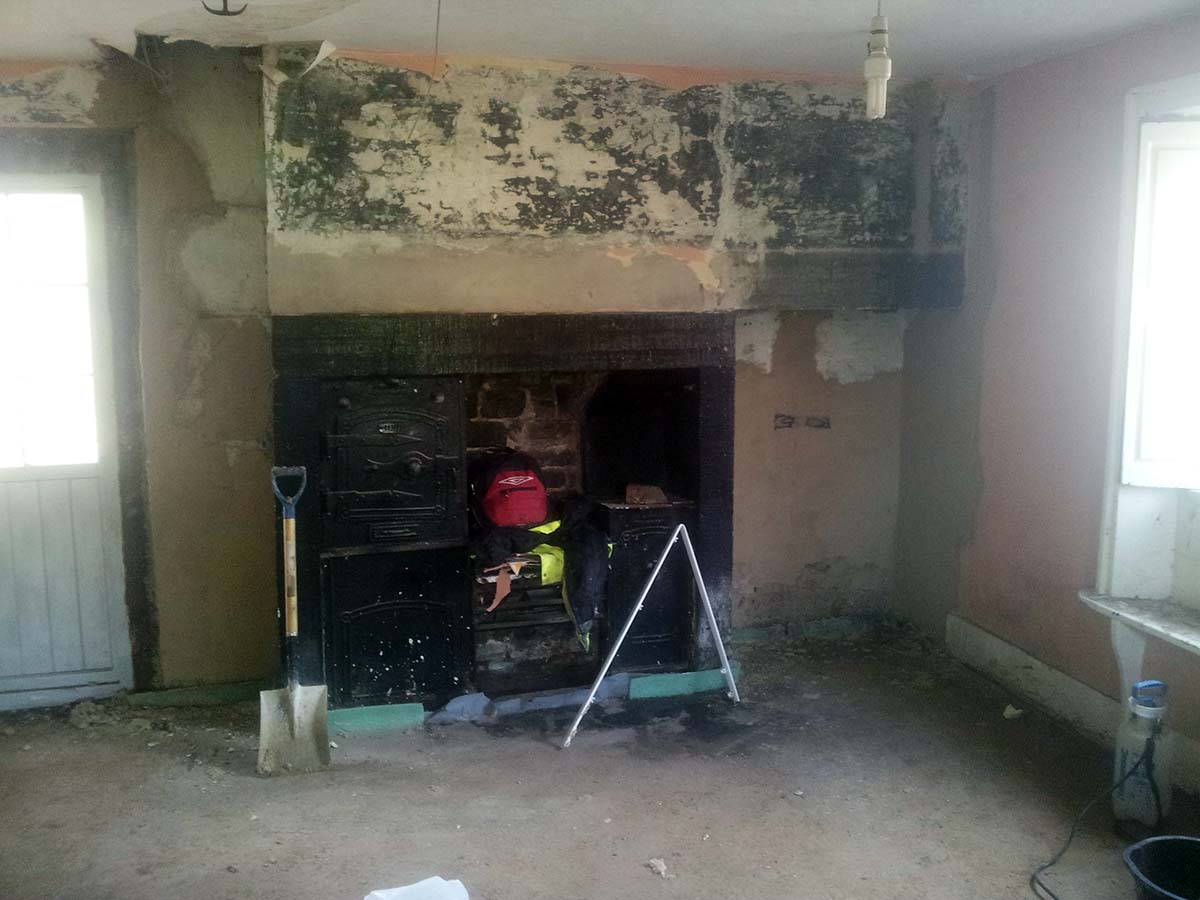
This property was undergoing a full restoration program and our team were contracted to complete the Lime Plastering work. We used a Lime Putty based plaster for most of the internal plastering on a solid masonry background. We also used a synthetic lime plaster to plaster the new ceilings which had been boarded with a gypsum board.
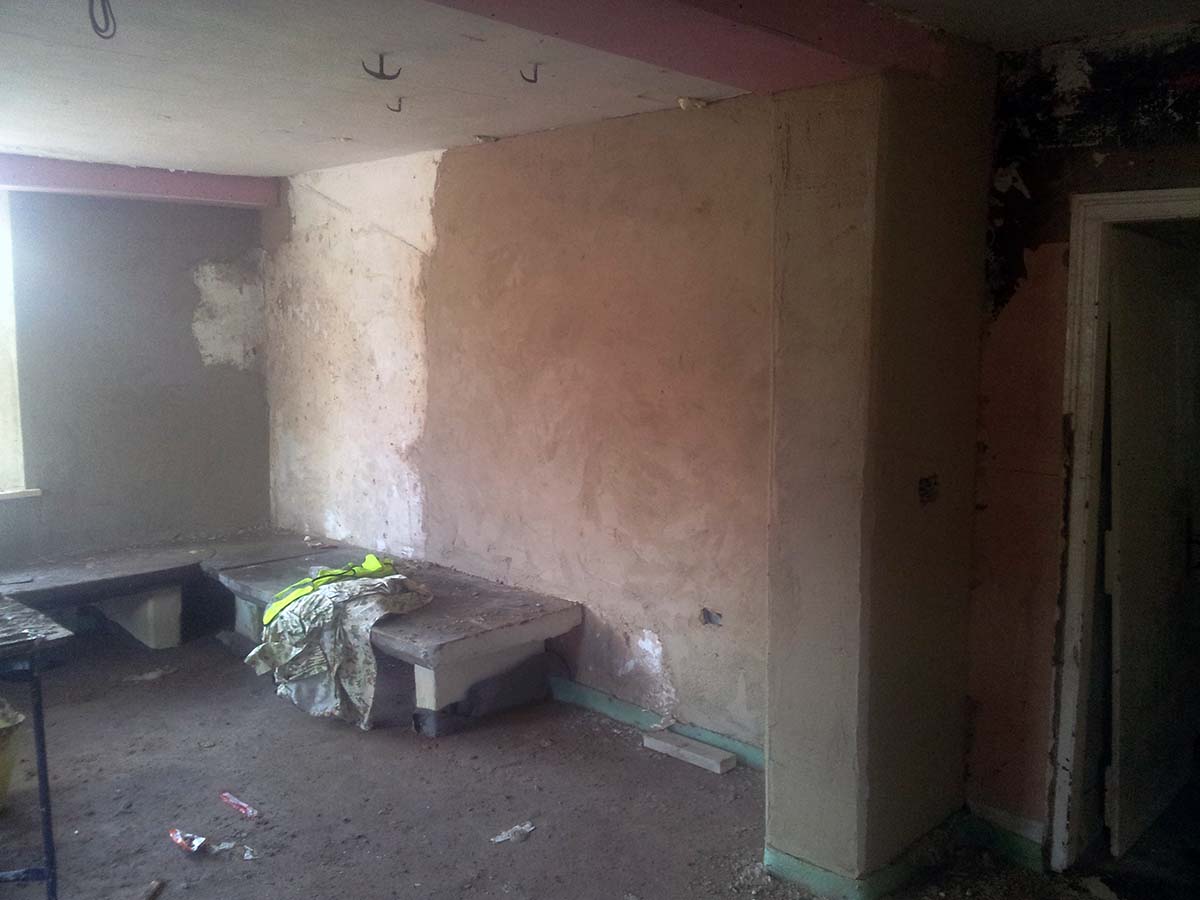
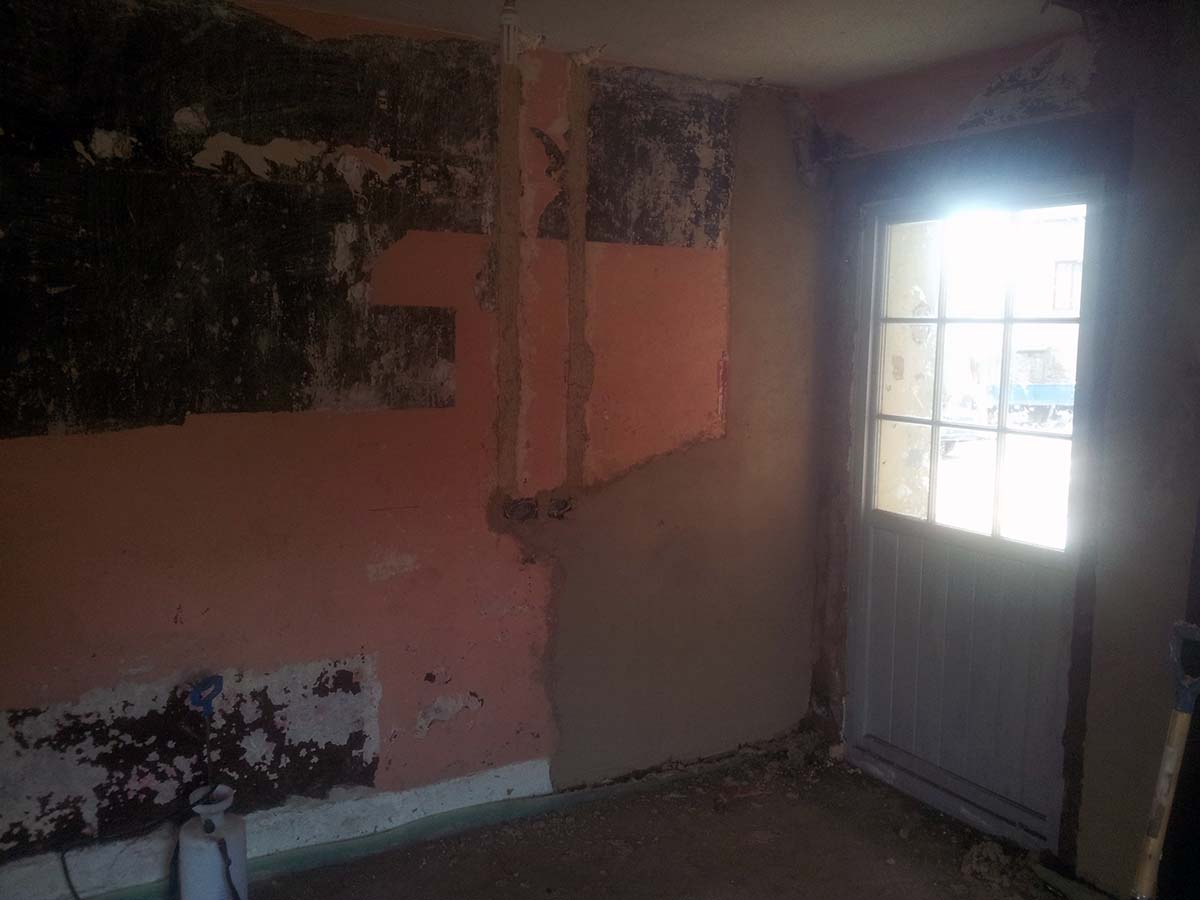
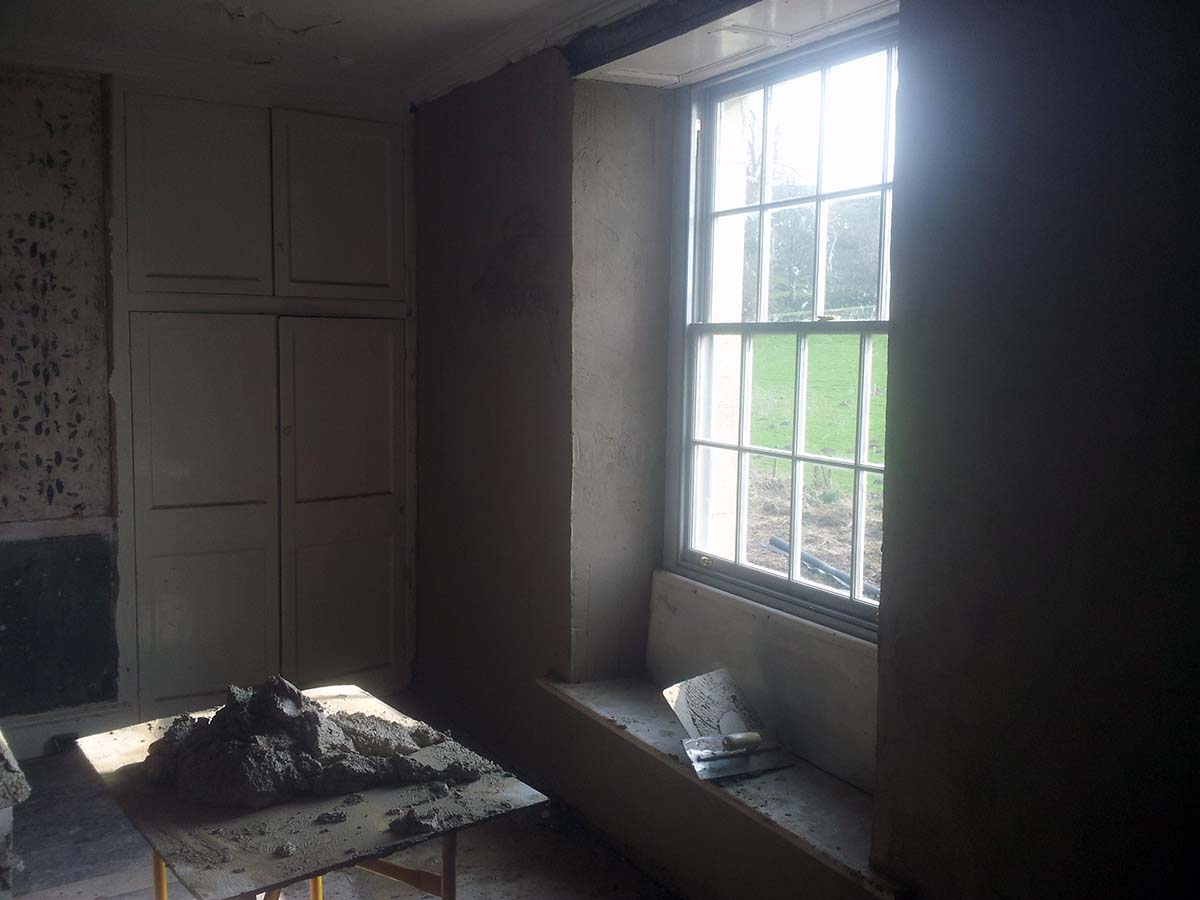
The internal lime plastering took a total of 6 weeks to complete. Our Lime Plasterers had to apply up to 4 base coats in some areas to build up and smooth out the brickwork. In some parts of the building the existing lime plaster was left on the walls as it had not de-bonded. We plastered up to the exiting lime plaster to create a seamless finish.
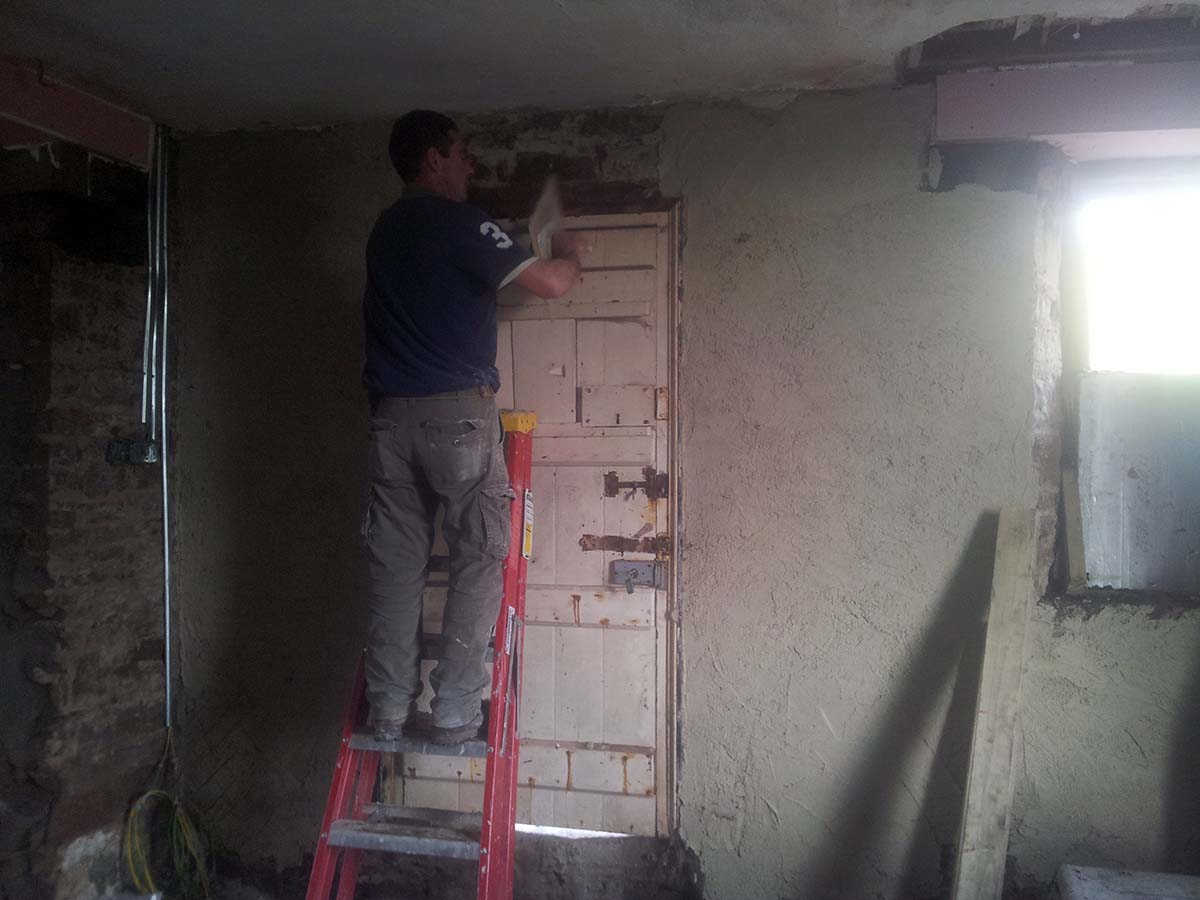
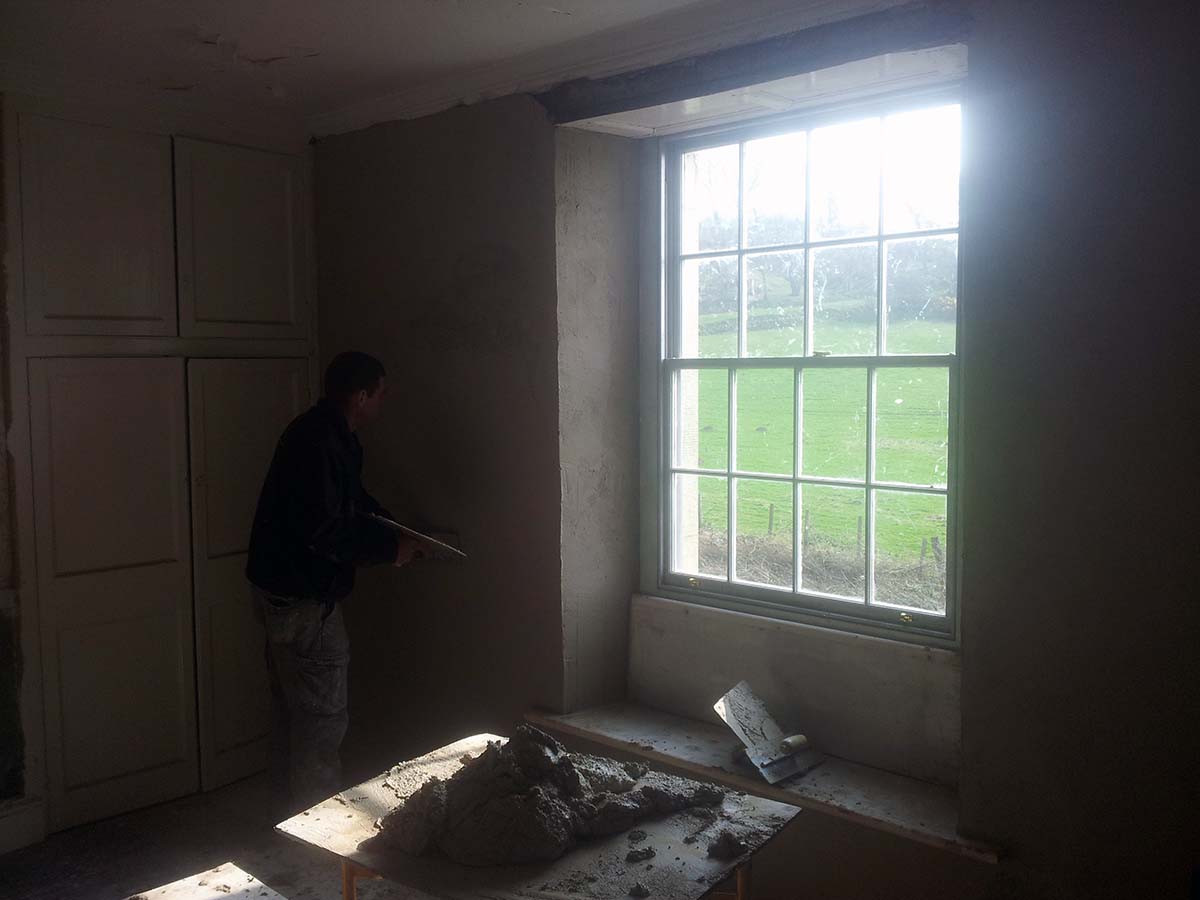
Our Lime Plasterers applied the first base coat to the masonry. The lime plaster was delivered to site in bulk container and pre-mixed. Our Lime Plasterers then used a paddle whisk to knock up the lime plaster. We also put goat hair in the mix at this point to increase tensile strength.
In the kitchen area we also installed a Limecrete floor. We used a Lyca fill material to the base, then a Lyca / NHL mix as a Limecrete Slab. The underfloor heating pipework was the installed on top of the Limecrete slab, then topped off with a 75mm Lime Screed.
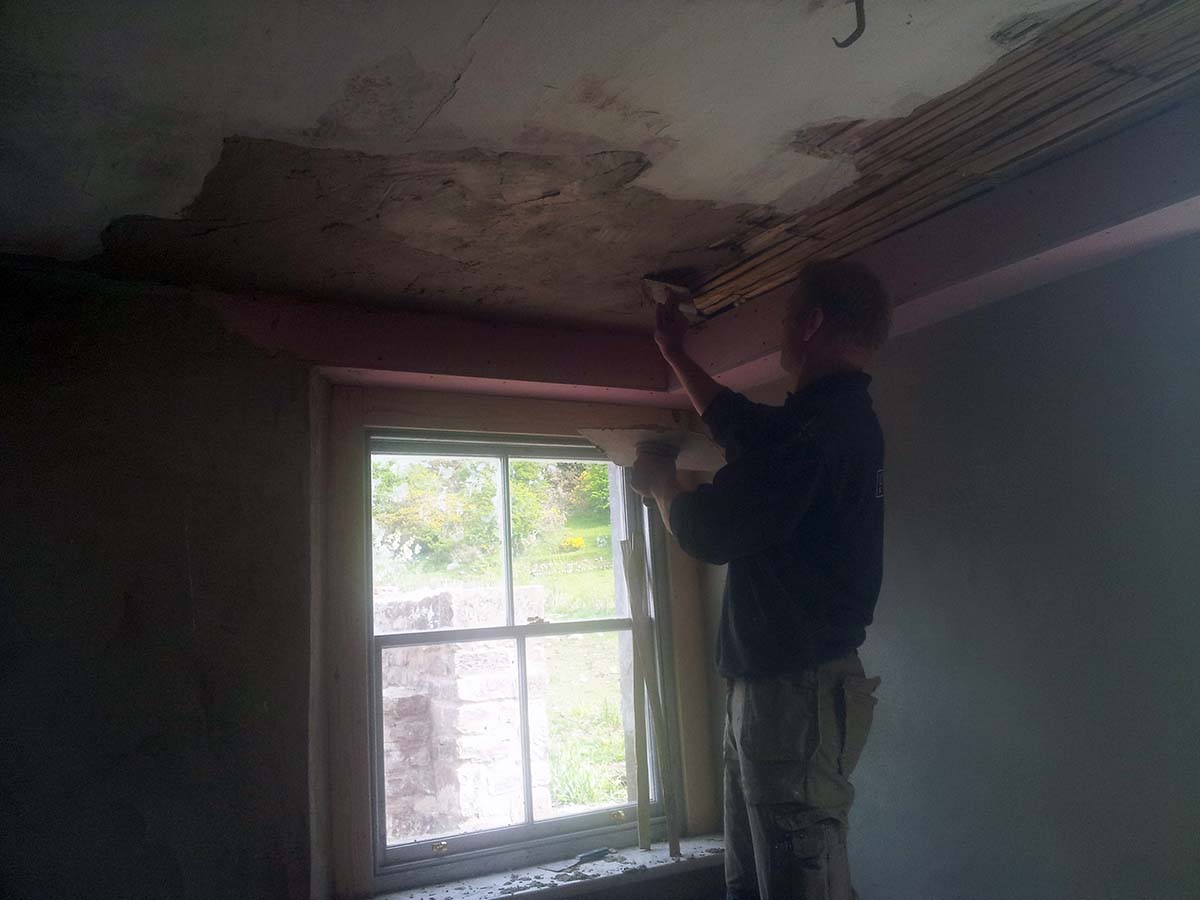
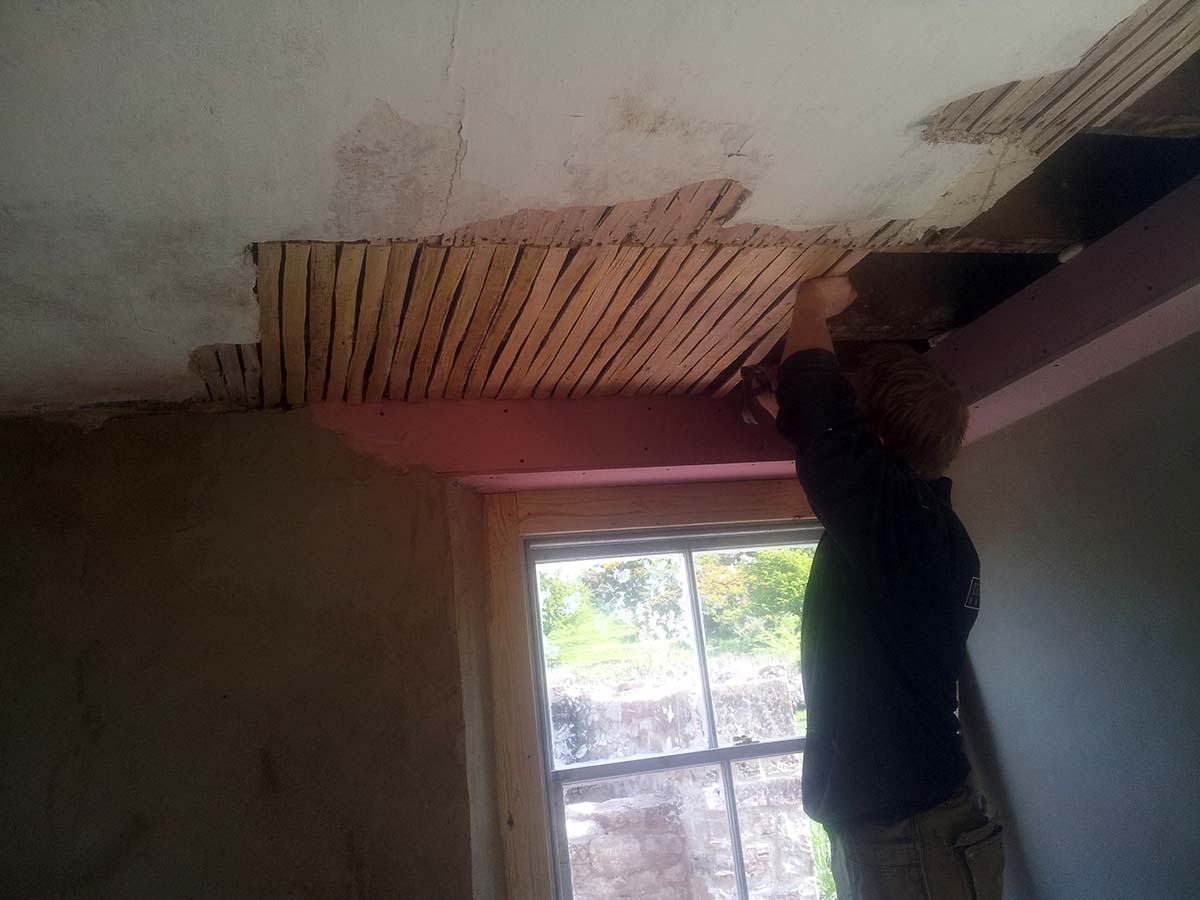
The previous contractors has installed an RSJ to support to 1st floor, as a result parts of the ceiling were removed or de-bonded. Our team installed new new riven laths to the ceiling joints, using stainless steel nails, before re plastering the ceiling.