On this project we were ask to construct a New cedar clad garage. The Garage was to house a Under Floor Heating boiler & electrical equipment for the recently renovated Threshing Barn. The Garage was also be used to park a large 4×4 vehicle & storage. The buildings architect opted to use a Cedar Shiplap board to clad the garage with a cut and dressed stone dwarf wall.
Foundations & Blockwork
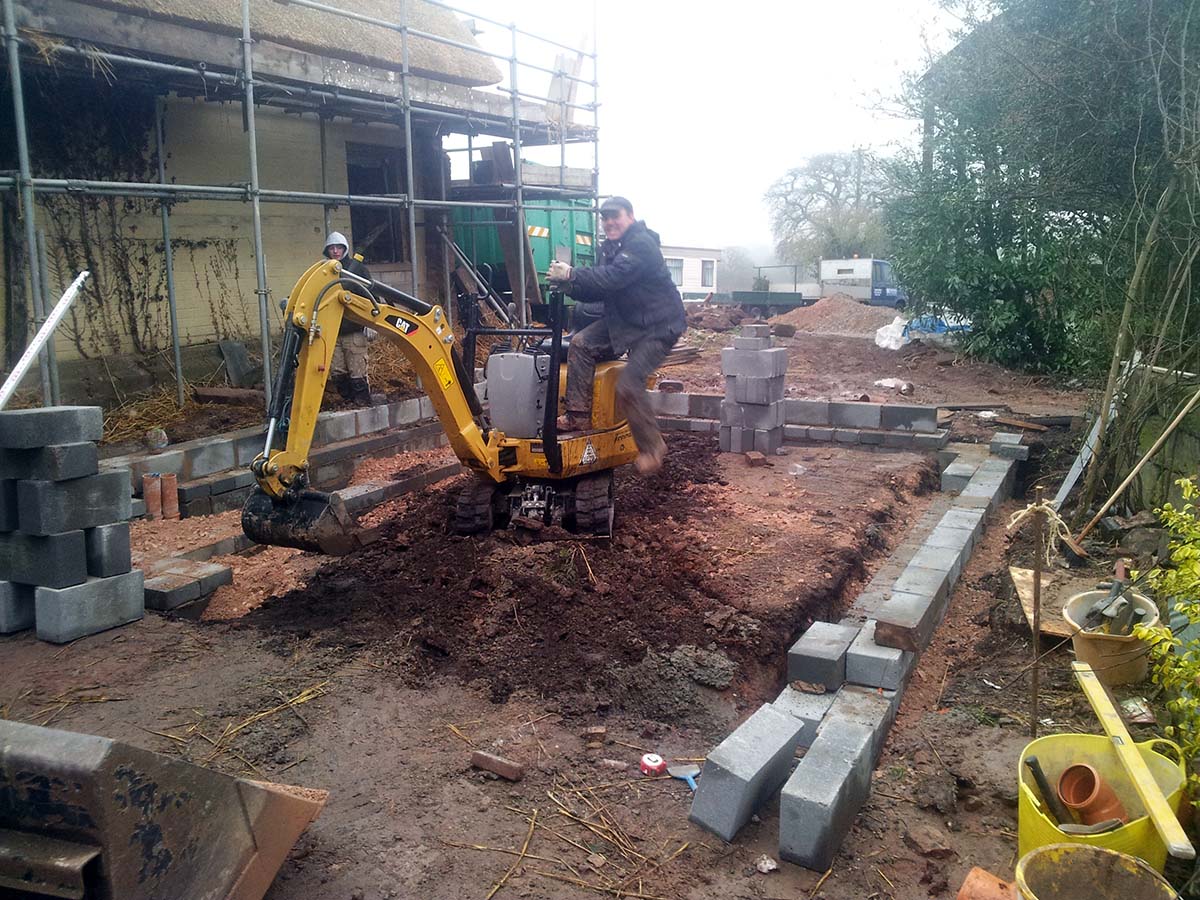
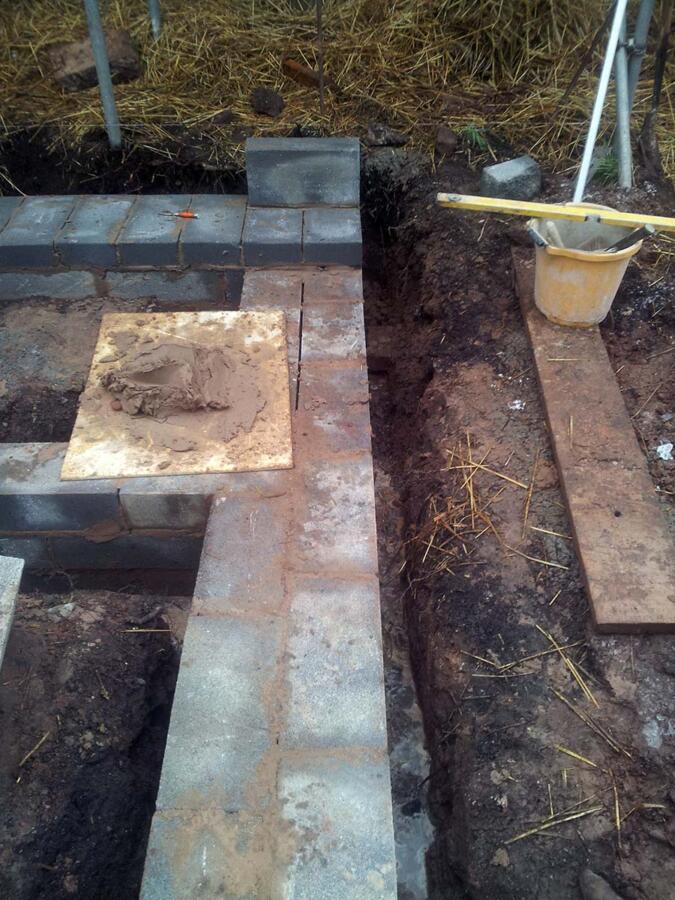
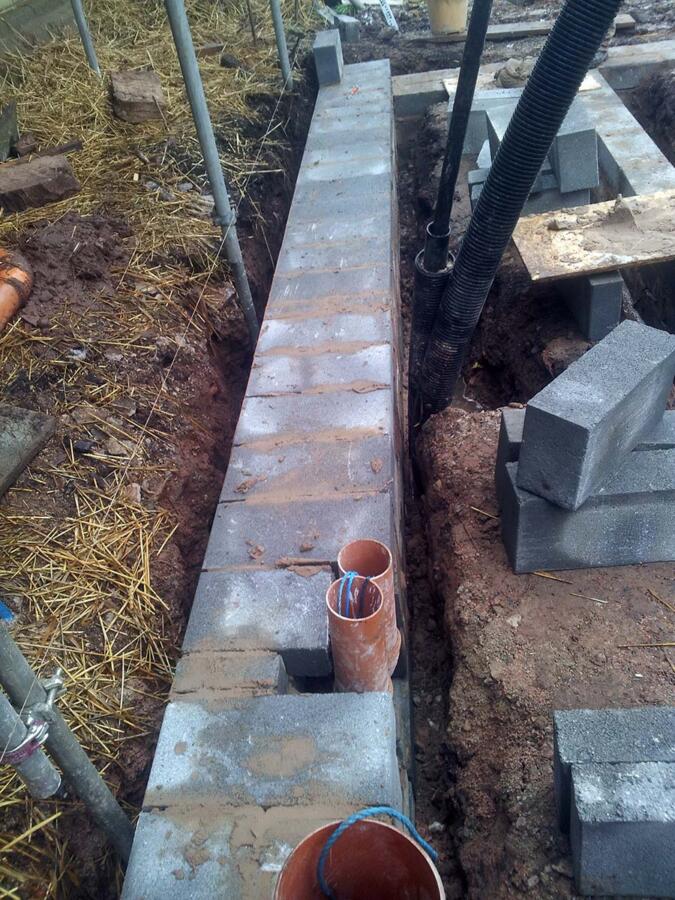
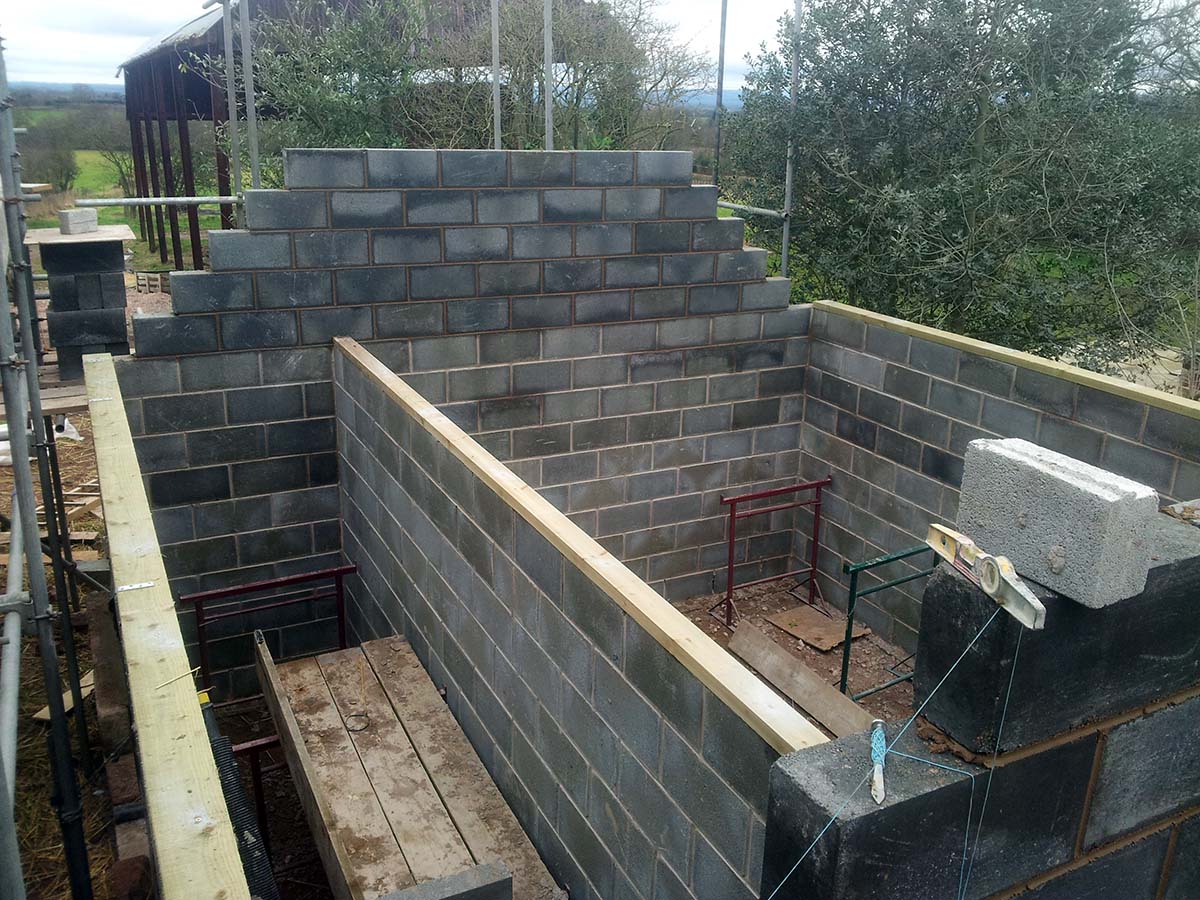
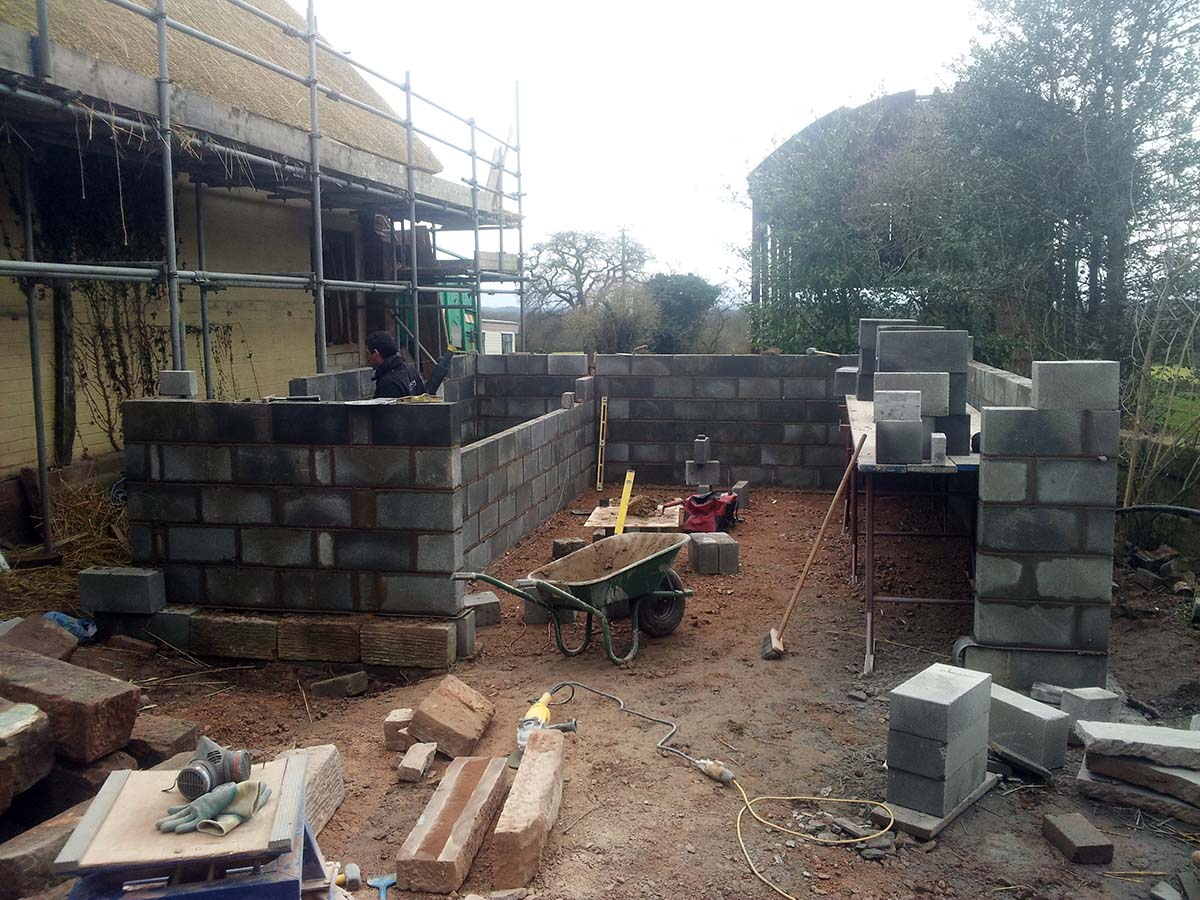
The foundations for the garage were excavated and concreted. Our Builders then installed blockwork to the foundations up to floor level. A 6″ concrete block was used, as they lay quicker than traditional 4″ blocks. The foundations were also mass filled with concrete for speed of construction.
As our Builders were laying the Blockwork in the foundations for the garage, our Ground working contractor excavated the excess material from the internal floor of the garage. We used one of our smallest excavators for this, this digger can fit through a standard house door, comes in very handy. The material Excavated from the floor was used for landscaping on other parts of the build.
Once our builders had constructed the foundation block work the internal floor of the garage was levelled with crushed MOT 1 stone. The crushed stone was then compacted with a vibrating plate. All the services for the electric, drainage & water were installed under the foundation block work in ducts.
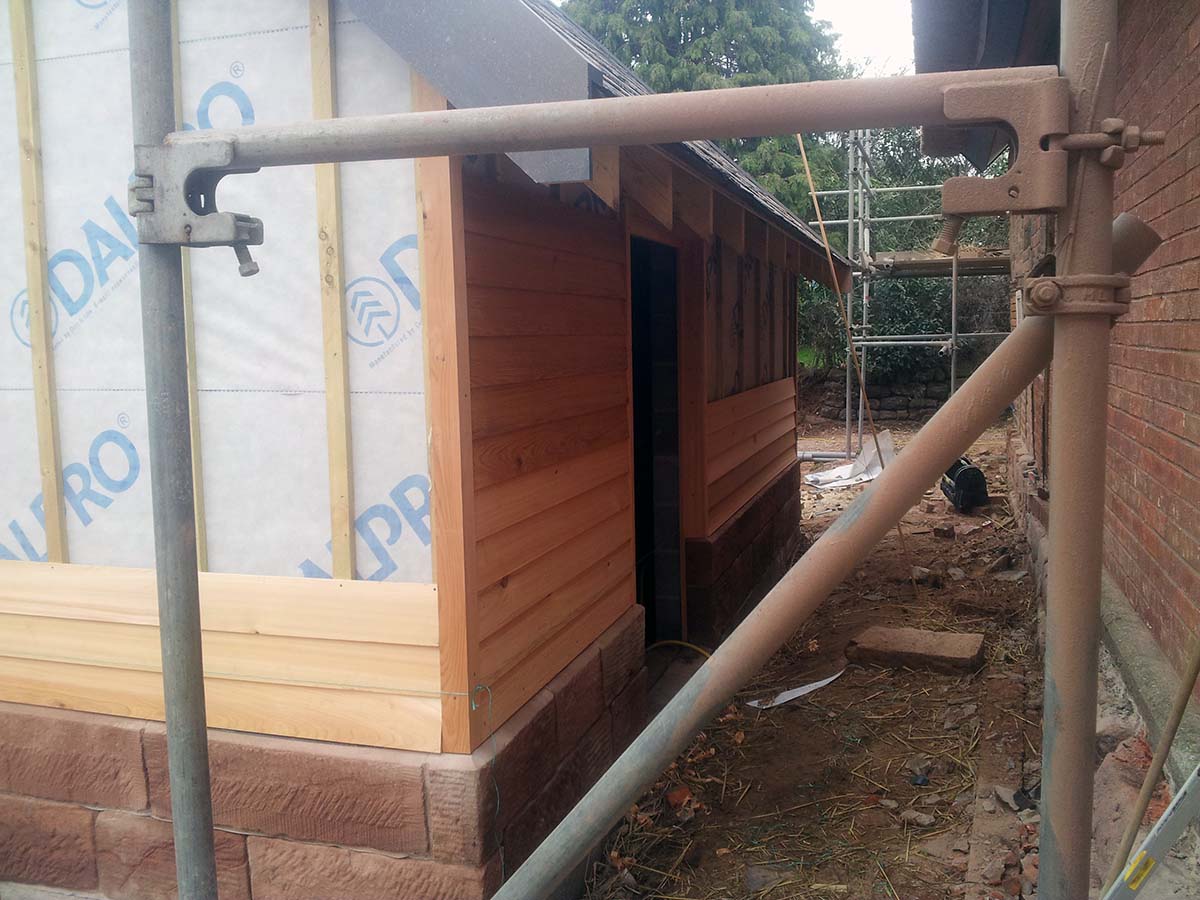
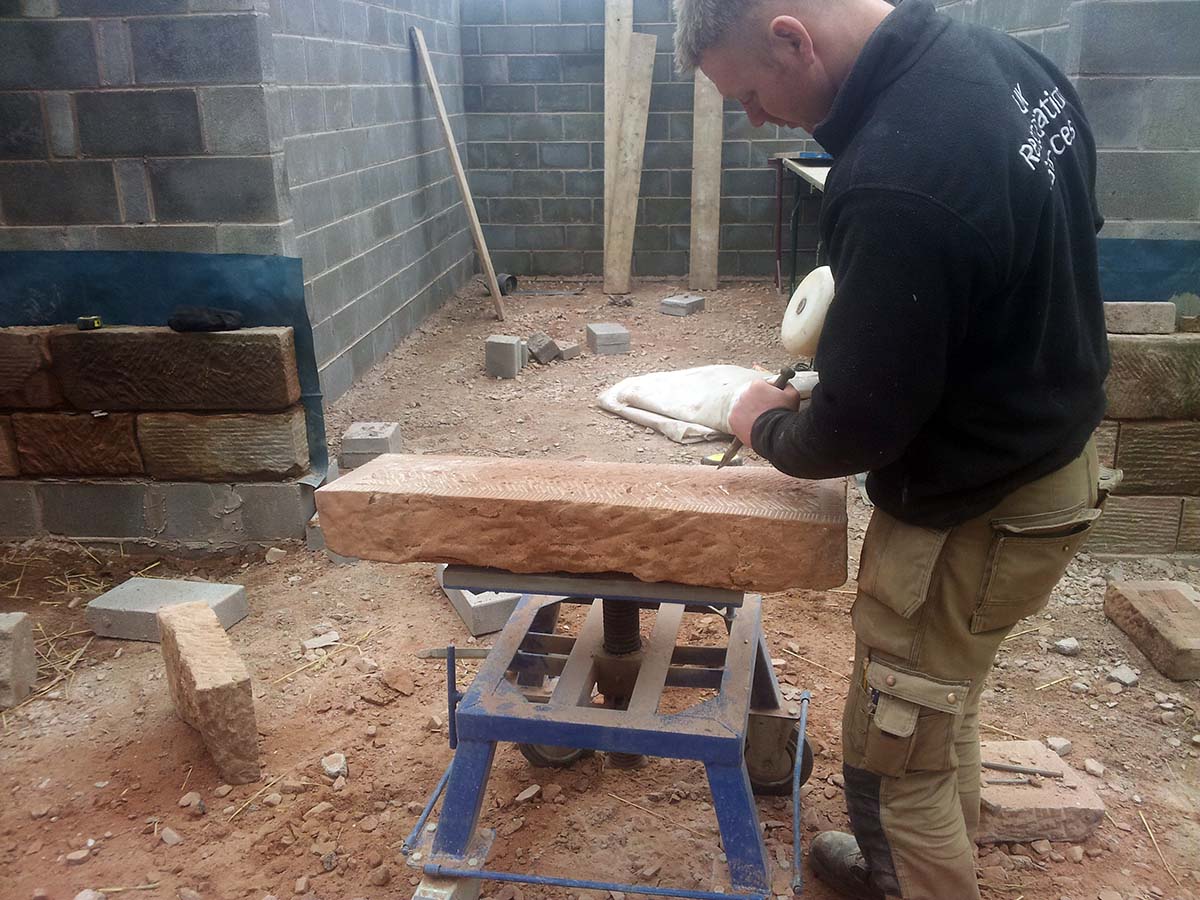
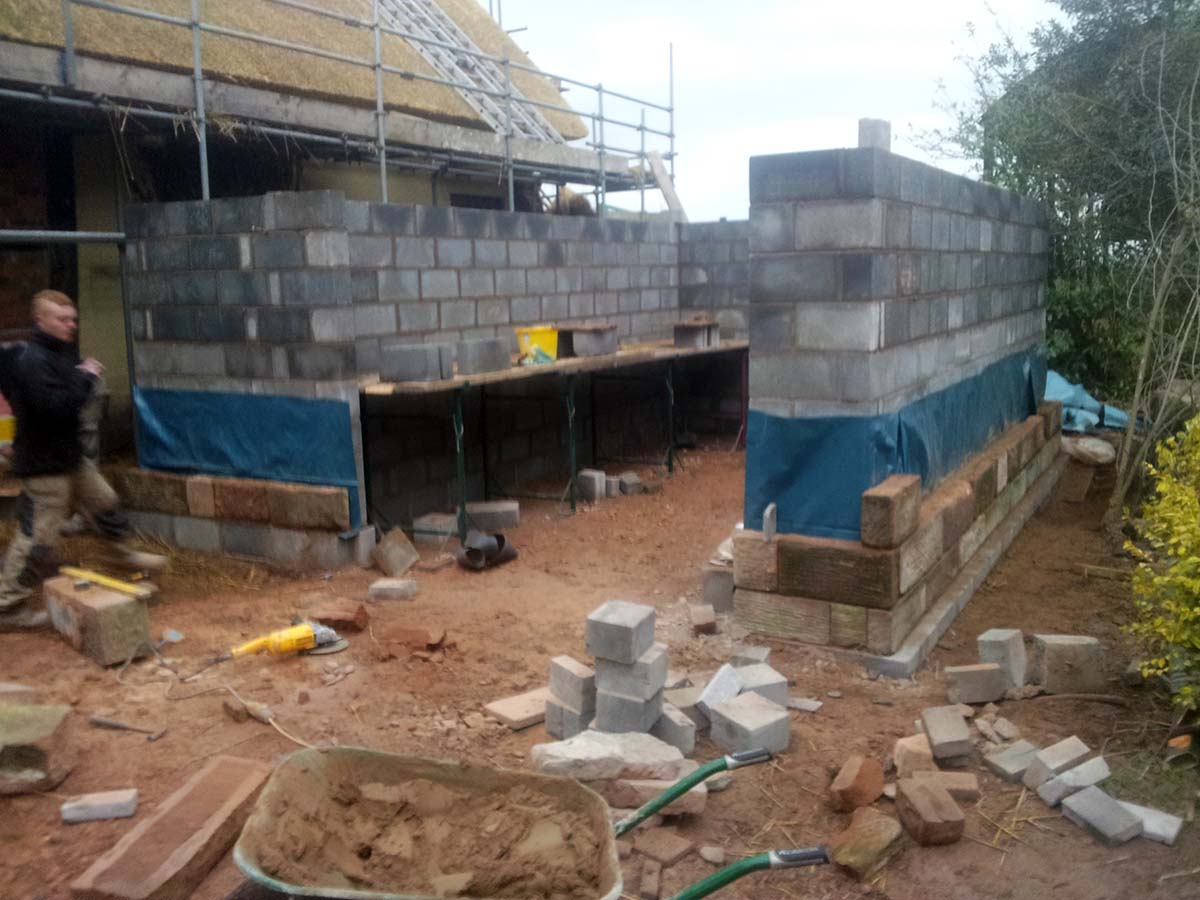
We installed a DPC barrier against the garage, to stop damp penetrating the block work, before the stone dwarf wall was installed. The lower section of the cedar clad garage was dressed in 8″ Cheshire red stone. Every stone for the garage had to be hand carved. Our stonemason used special tungsten carbide chisels for this.
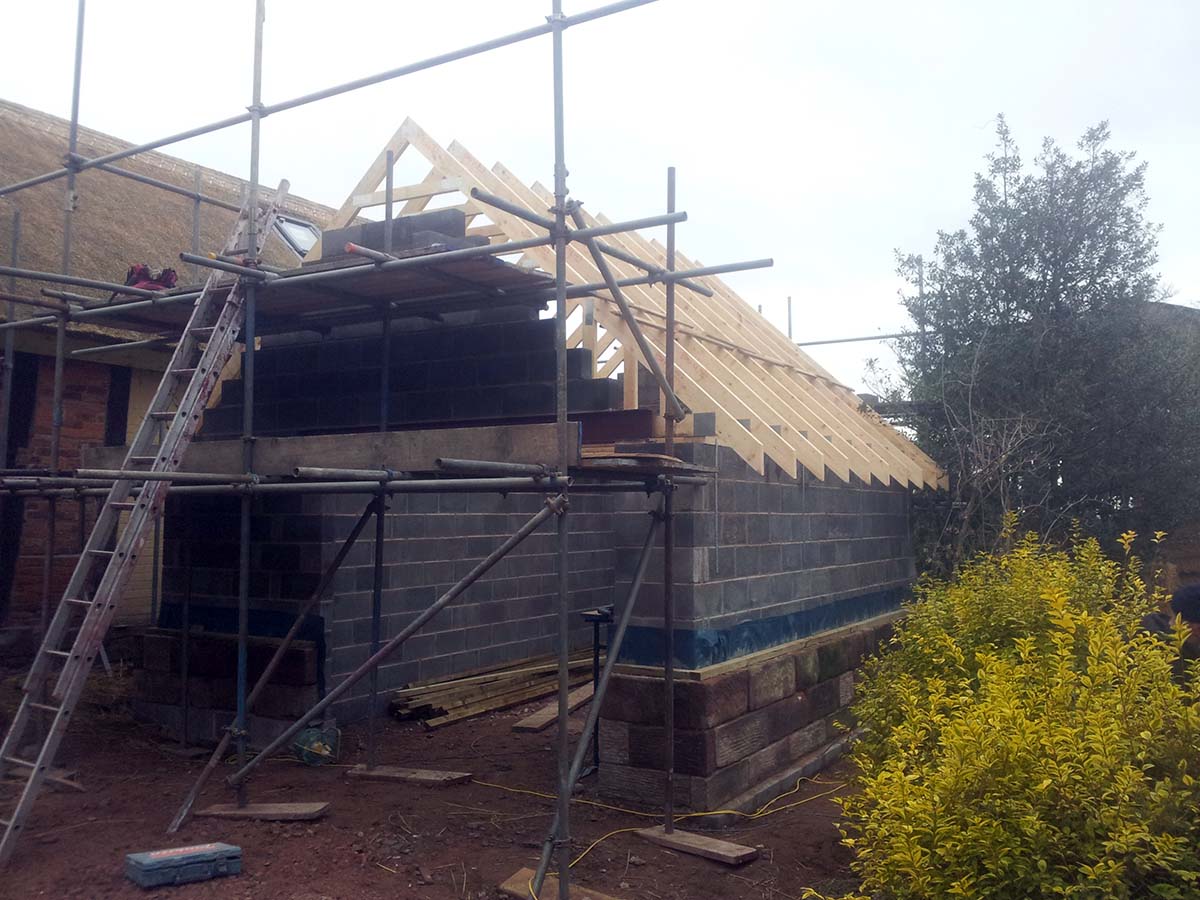
On top of the block wall we installed a timber wall plate. We used an anchor strip on the external of the block work to restrain the wall plate, these straps will later be covered with the cedar cladding. A steel lintel over the front door opening of the garage.
Roof Installation
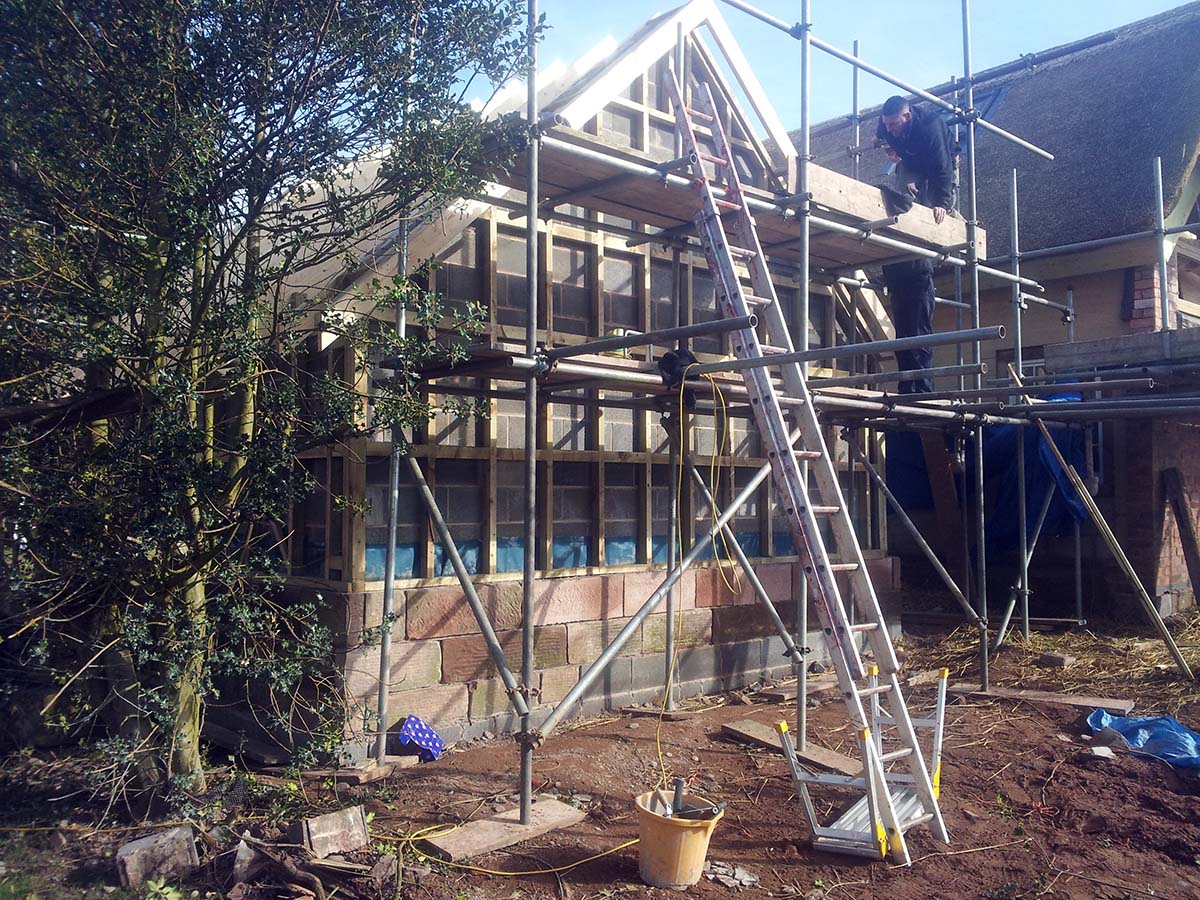
Roof trusses were manufactured off site and then installed onto the wall plates. The trusses were spaced out over the wall plate area, and then the cross braces were installed. Once the trusses have been installed we installed roof ladders over the gable elevation of the garage. These ladder extend the rafters to the external of the garage.
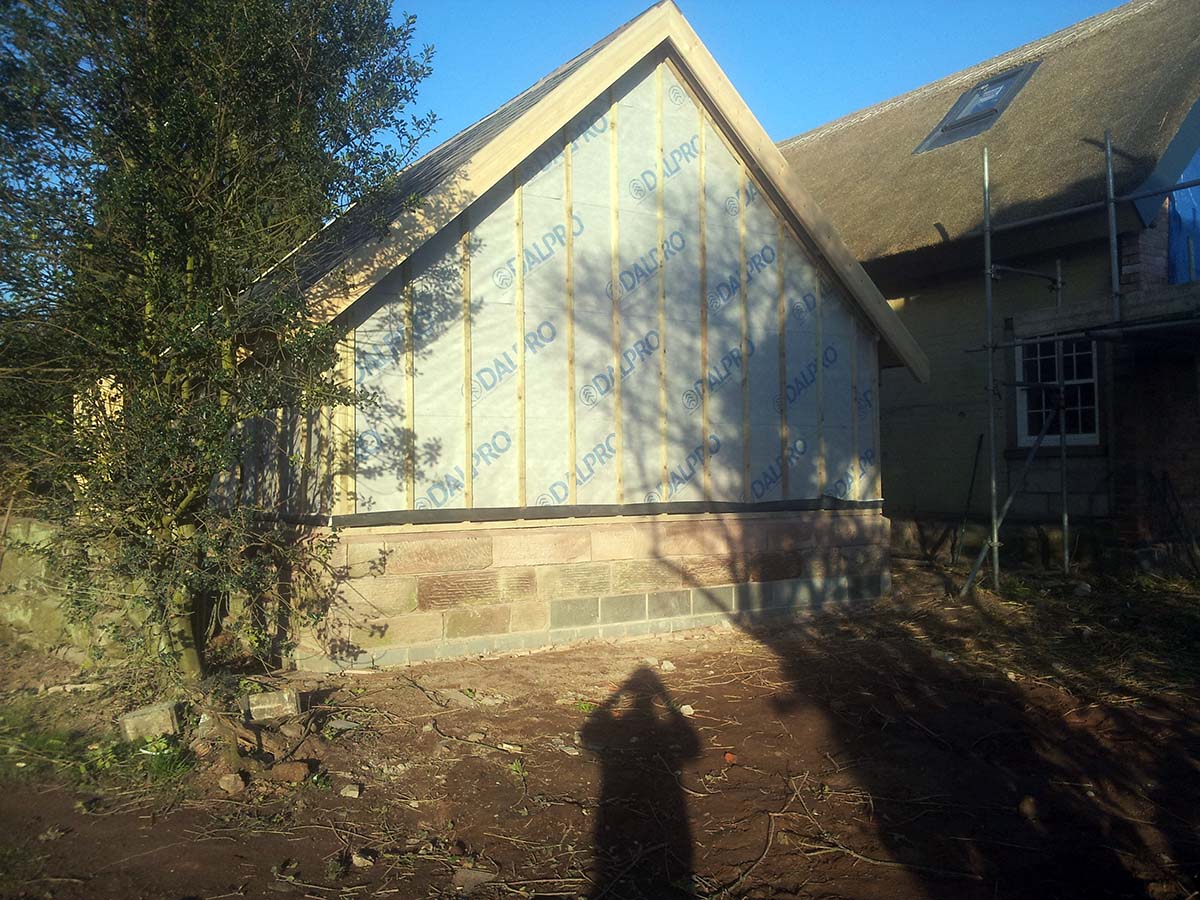
Only when these roof ladders had been fitted could we then installed the timber stud work to the gable elevations. This stud work will then have a breathe membrane installed with a counter. This breather membrane will stop any moisture penetrating the internal block work.
We then counter battened the breather membrane with a 2″-1″ timber batten. This is to keep the cedar cladding from touching the breather membrane.
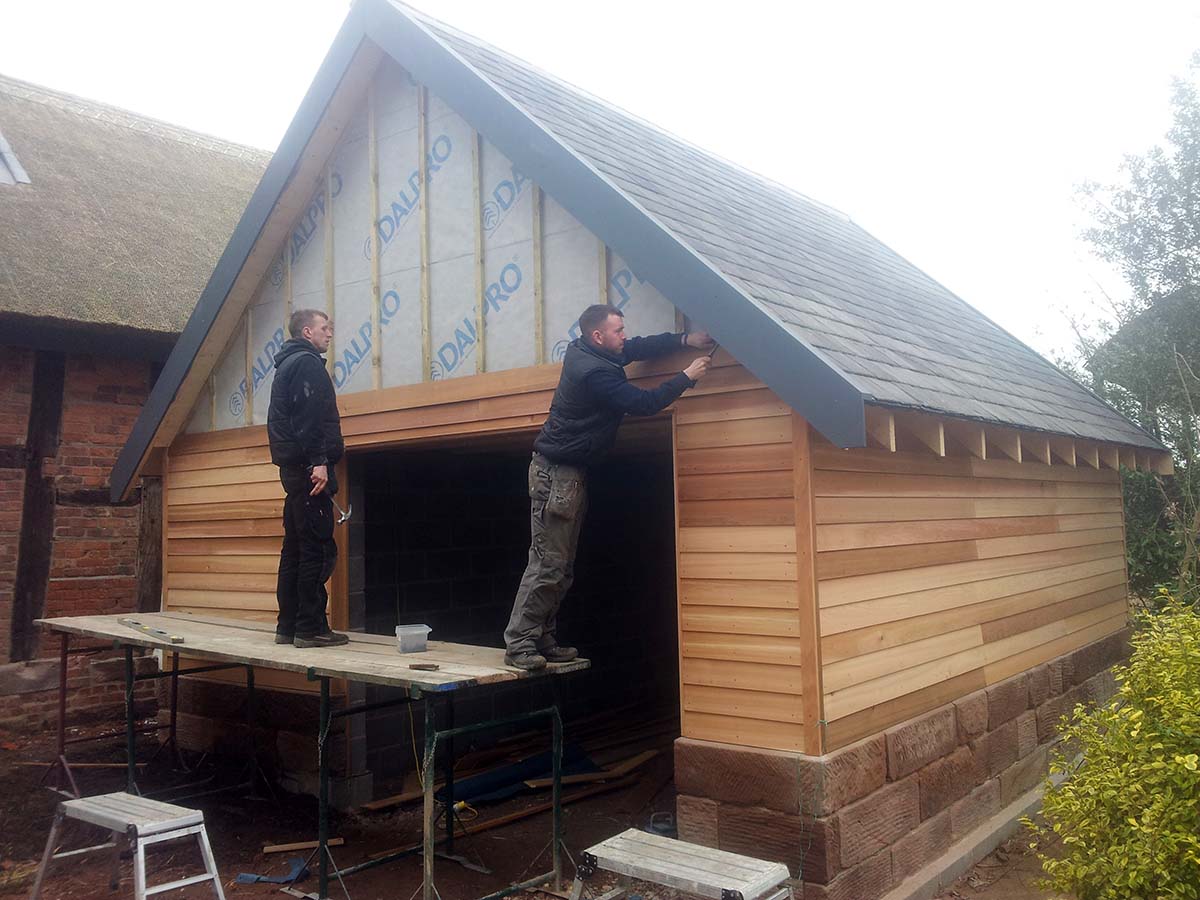
The scaffolding was dismantled and erected on the side elevation of the garage. We then started with the slating for the roof. On this roof we used reclaimed blue slates. Our roofers installed a breather membrane to the roof trusses battened with a 2″-1″ treated roofing batten. We found a local supplier for the blue slate, these slates matched other building around the farm.
Our joiners started fitting the cedar cladding to the garage. The cedar was a 6″ shiplap, we used stainless steel nails to fix the cedar cladding.