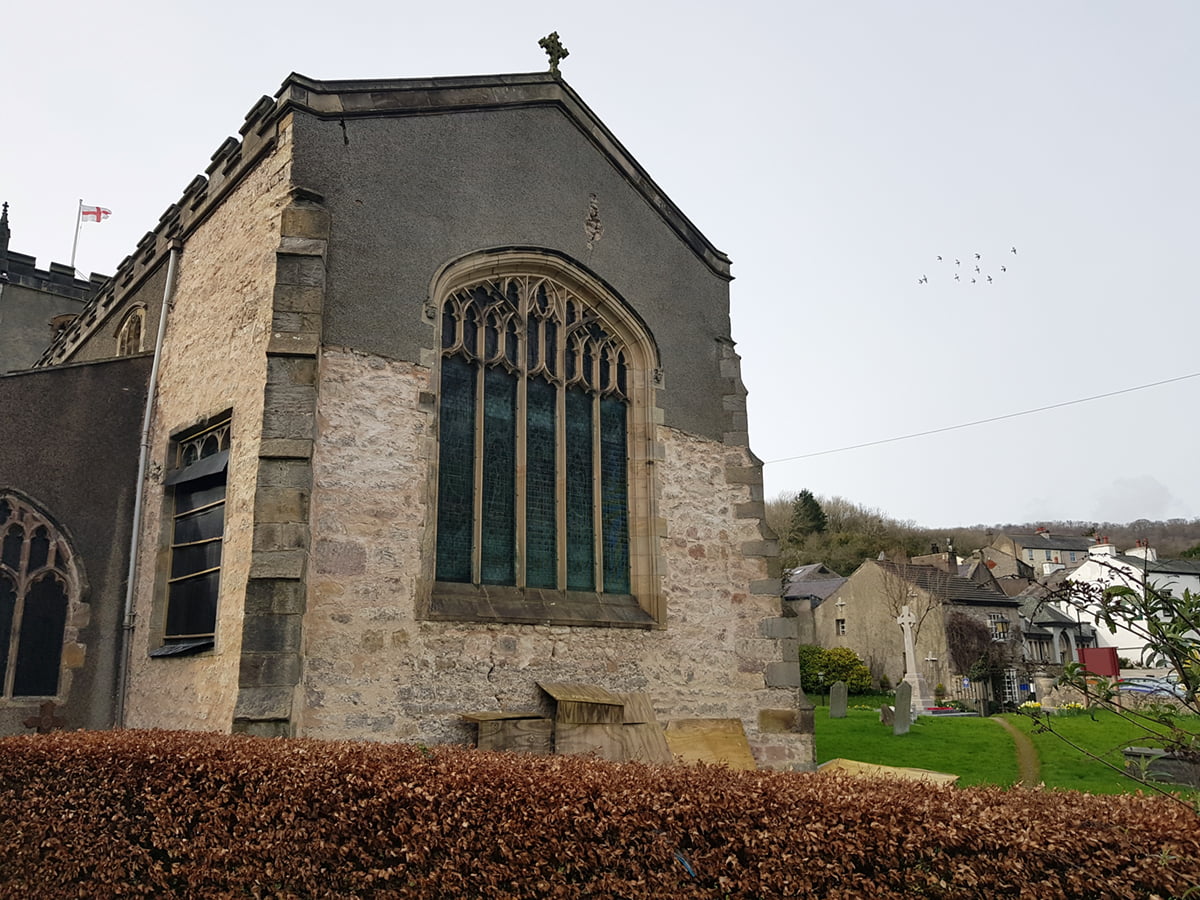
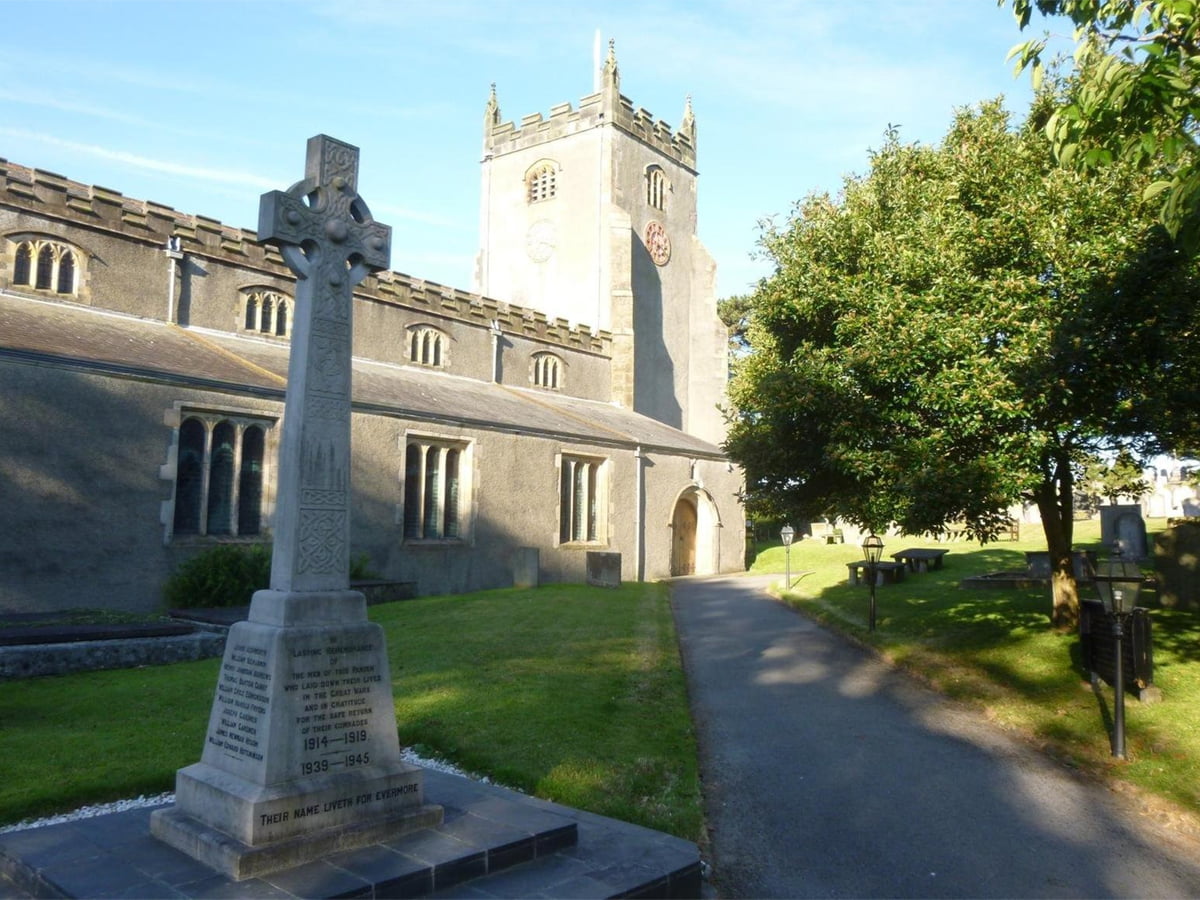
Located 20 minutes north of Lancaster, grade II listed St Oswald’s Church stands in the heart of the village of Warton and has served the local population for over 600 years. There has been a church on the site for over 1000 years and the ruined remains of the medieval rectory still survive next to the present vicarage.
Since its establishment, the church has had various work carried out including the construction of the tower in 1480 which was paid for by the local Washington family who were ancestors of George Washington, the first President of the United States. This connection attracts tourists to the church and the American flag is flown from the tower on 4th July each year in commemoration.
Contract Awarded
Prior to our involvement in this project, the hard-cementitious render had been removed and some lime mortar pointing work had been undertaken in the summer of 2018 but due to complications the work was stopped. We were awarded the contract for the revised project and commenced the works in June 2019 with HPA Chartered Architects as contract administrators.
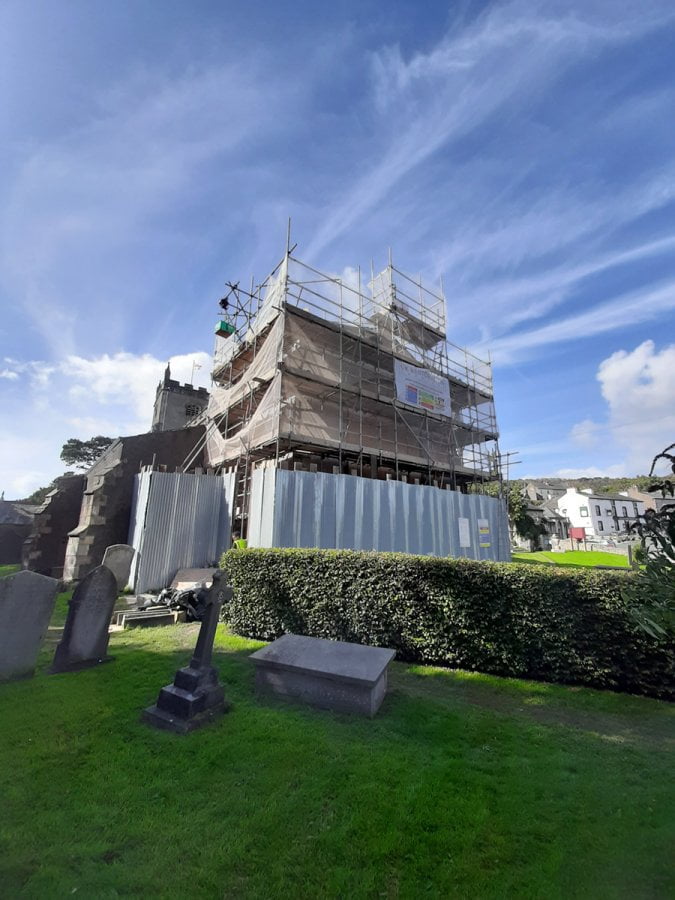
An independent access scaffold was erected on the chancel gable and flank walls which was not tied to the building and included retractable Transoms to allow for access during the rendering process.
Tracery Arch
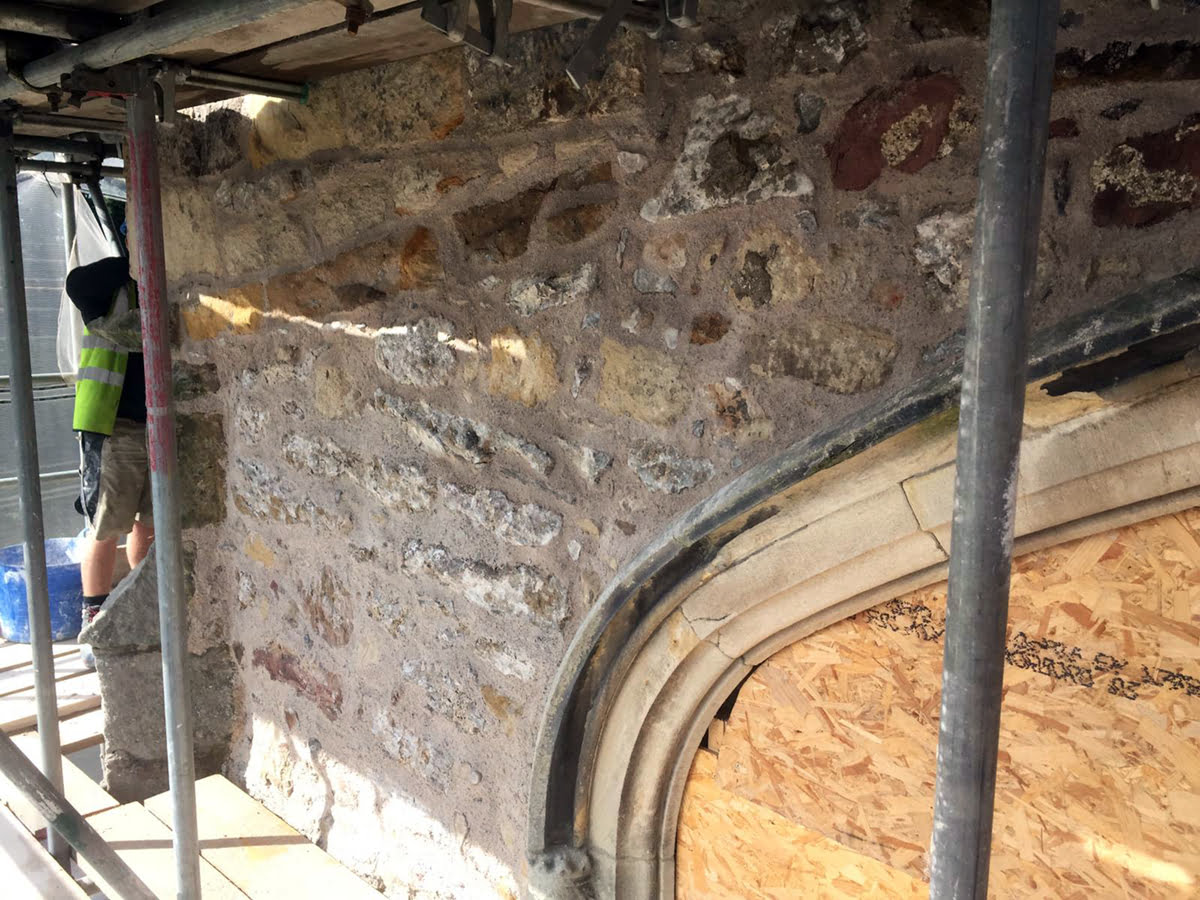
Structural engineers Curtins, monitored the gable for movement where two large cracks had formed above the tracery arch. The outer arch section had also started to rotate outwards, separating from the internal masonry curvature. One of the initial tasks was to install needle propping above the arch which involved installing bracer timber and scaffolding clamps externally to stabilize the inner masonry leaf and installing large props and scaffolding tubes internally to brace the props.
This was a challenging process due to the 750mm thick walls and it took approximately 2 weeks to core out 12 holes in the masonry to install the needles. In order to safeguard the internal walls and chancel floor, protection was installed including a dust curtain to prevent dust migrating into the nave.
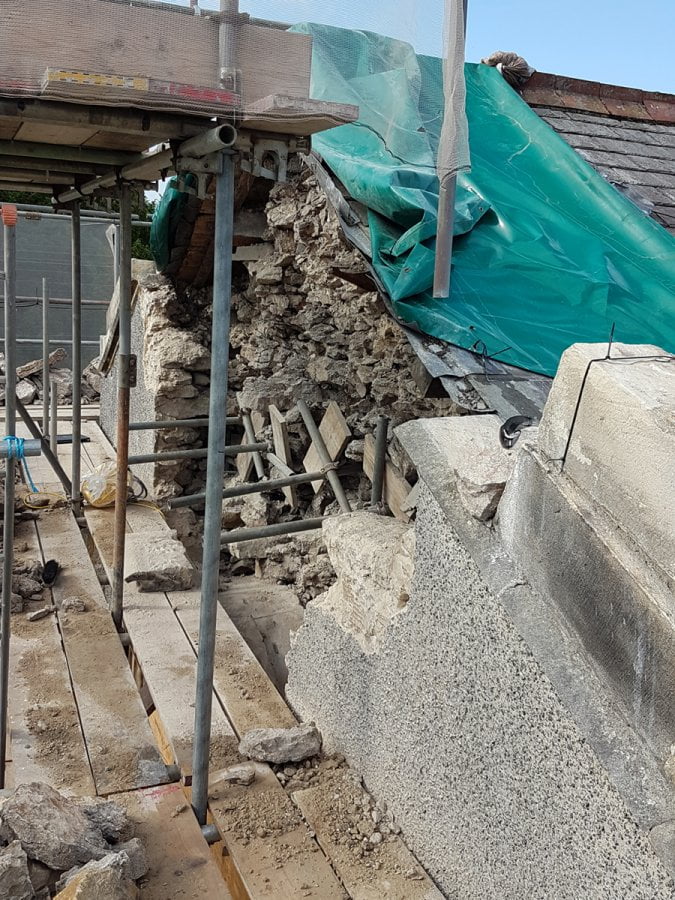
Once the needles were positioned, we removed the gable copings and stripped back the slate roof to allow the dismantling of the masonry. We disassembled the gable masonry down to the arch to enable us to carry out structural works the rotating outer arch. All the copings and masonry were lowered to the ground using a scaffolding hoist due to the weight it would impose on the scaffolding structure.
Bespoke Tie Bar Fabrication
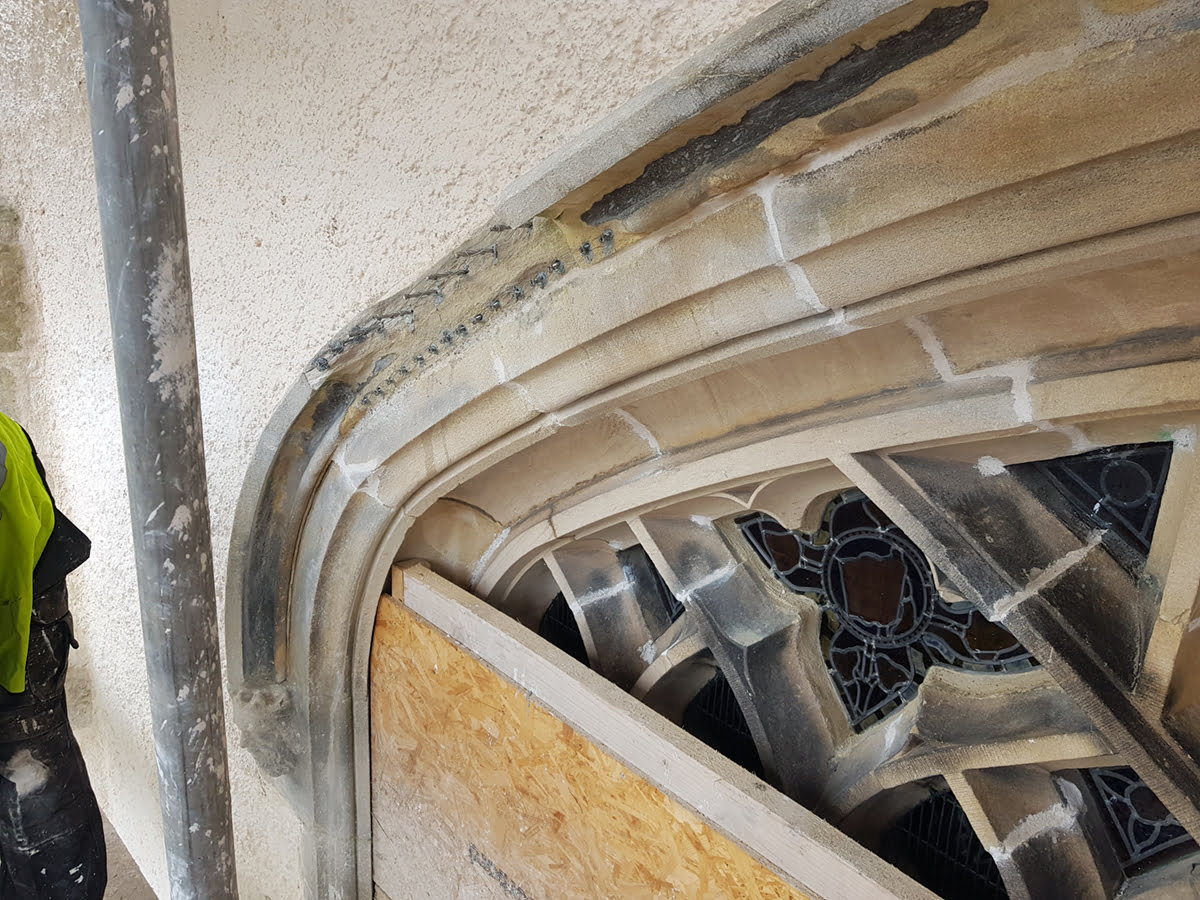
After the masonry had been dismantled to the tracery arch, we cleared the joints of the voussoirs then grouted them with a mix of NHL 5 hydraulic lime, prompt and fine aggregates. A flow agent was also added to help the grout mix spread along the voussior joint. Other areas of the tracery arch windows also required grouting as the joints had eroded over time.
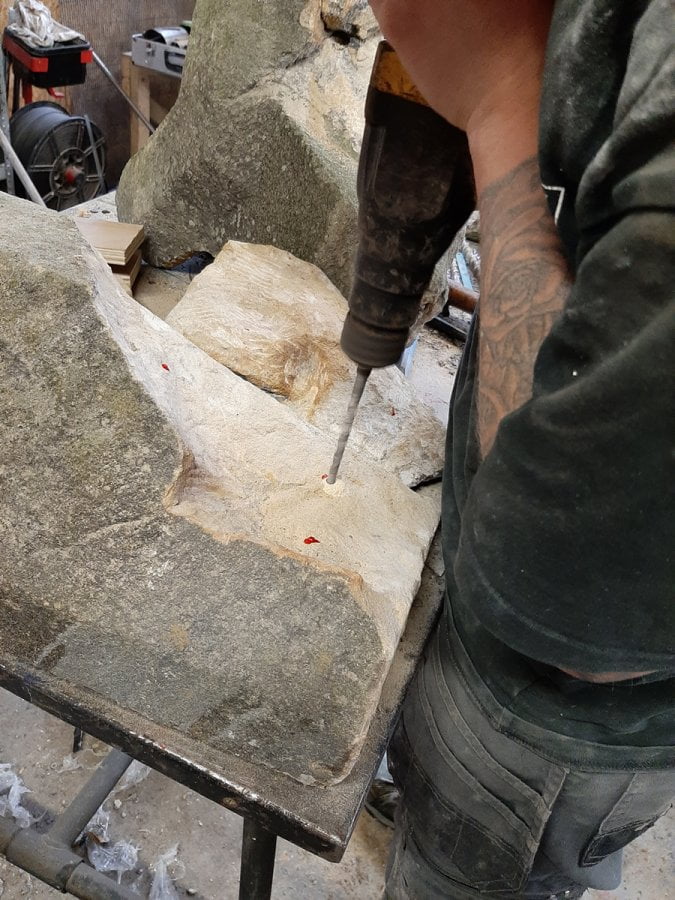
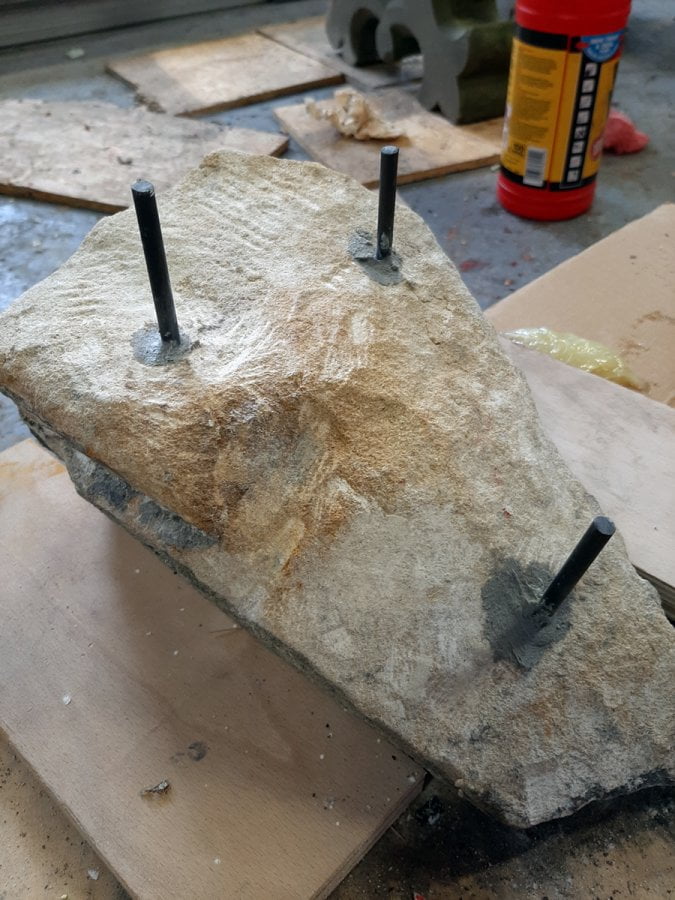
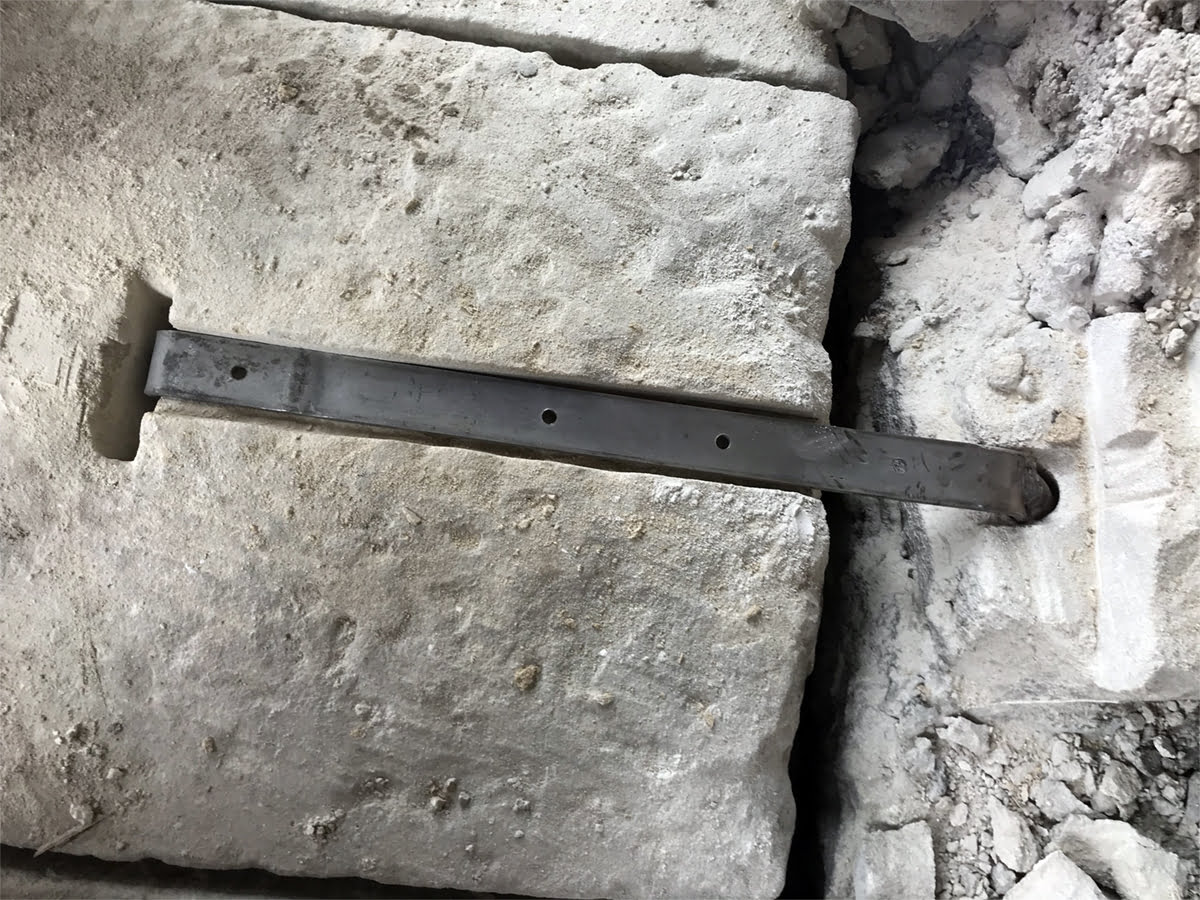
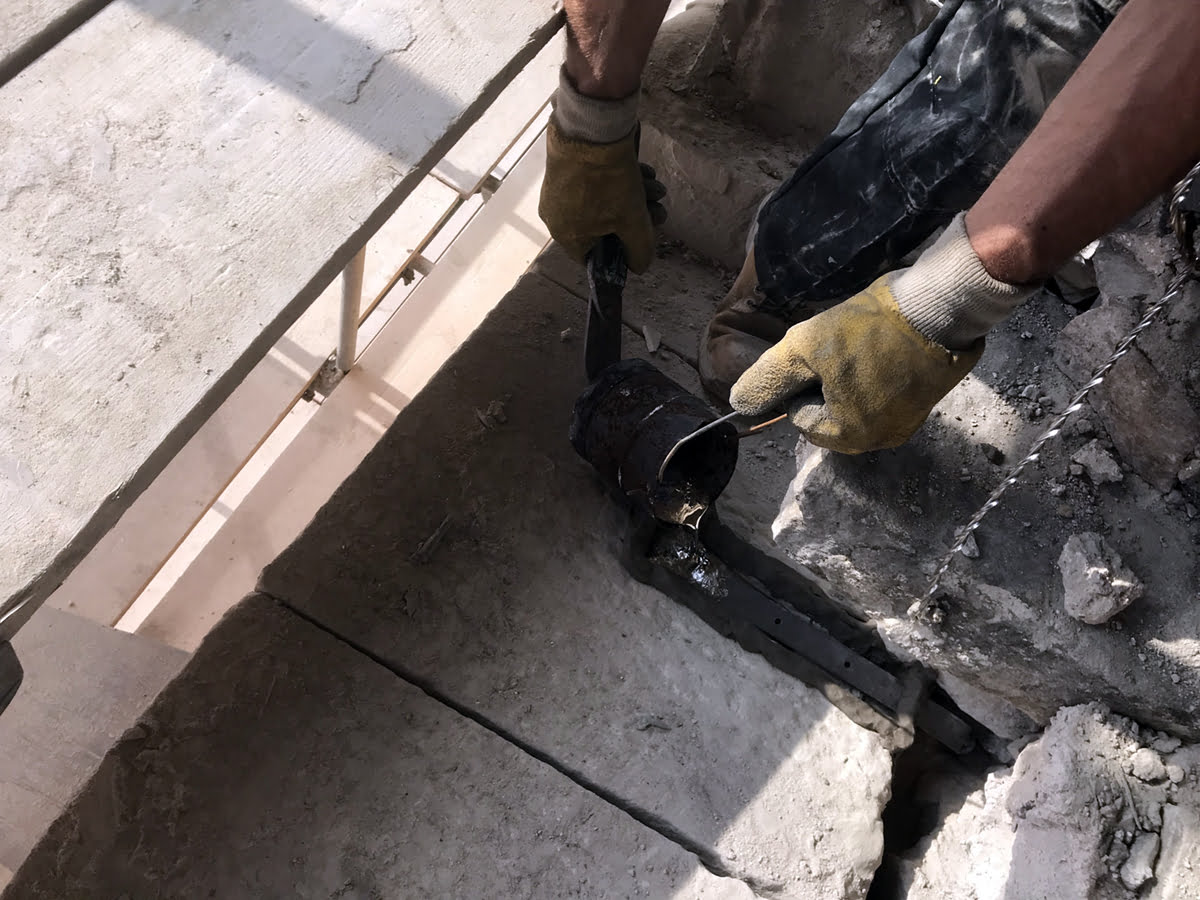
The structural repairs consisted of tying the internal arch to the external arch. We fabricated some unique stainless-steel tie bars in our fabrication workshop comprising threaded bar that would be drilled into the inner arch with a welded cramp to fix to the outer arch. We formed a groove in the outer arch to accommodate the cramp and having made a mould from modelling clay we poured molten lead into the cramp pocket. This would hold the cramp firmly to the outer arch. The inner threaded bar was simply fixed using epoxy resin.
Once all 8 voussoirs had been cramped we started the rebuilding of the gable pike. Hot mixed lime mortar was used for the masonry work and bespoke stainless-steel wall ties were fabricated from 9mm helical bar to tie the internal and external walls. The centre of the wall had packing installed with a little lime mortar to bind. This packing was carefully laid to ensure the maximum bond between the masonry leaves.
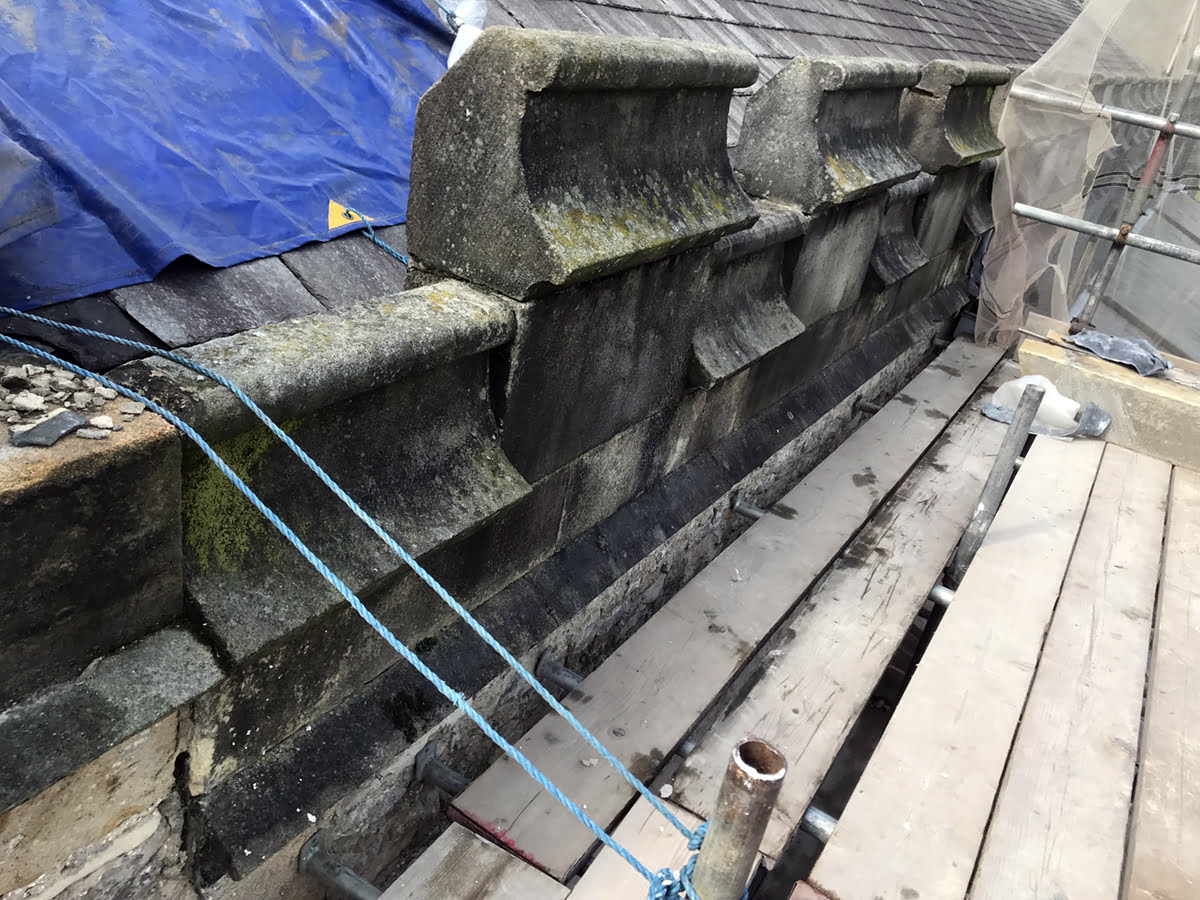
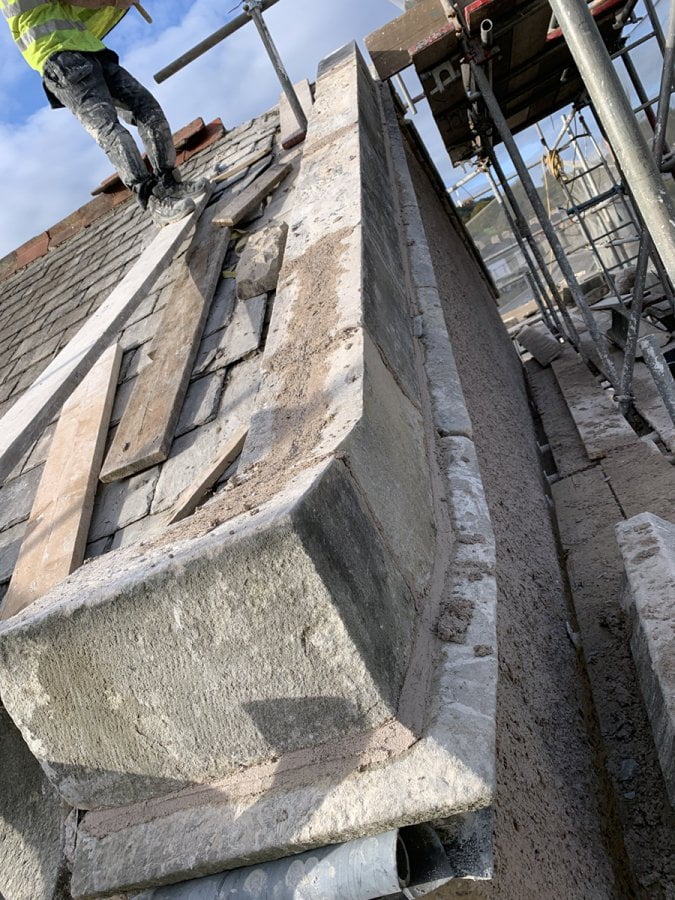
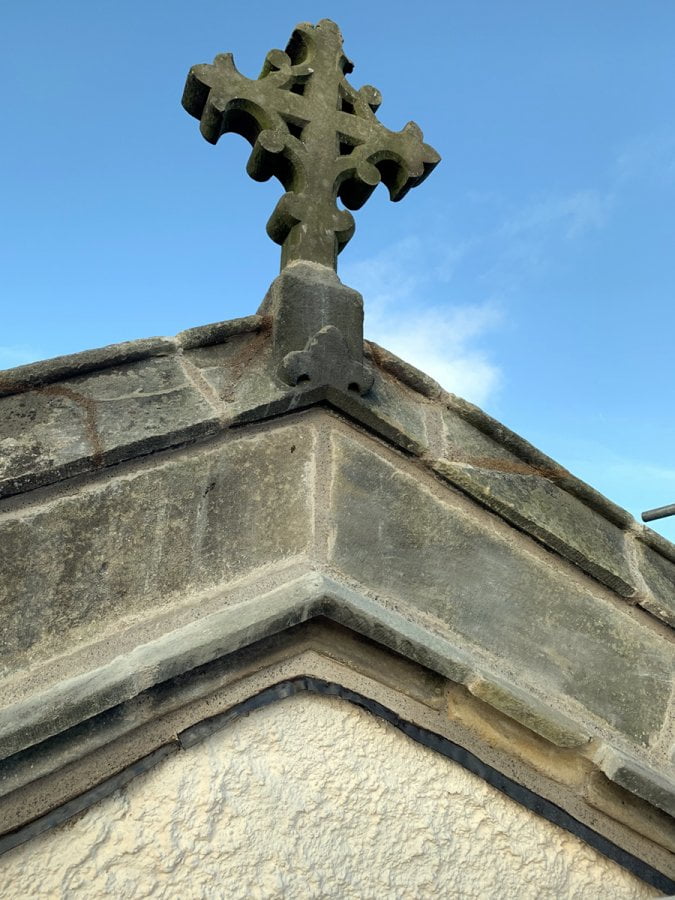
Nave Parapet
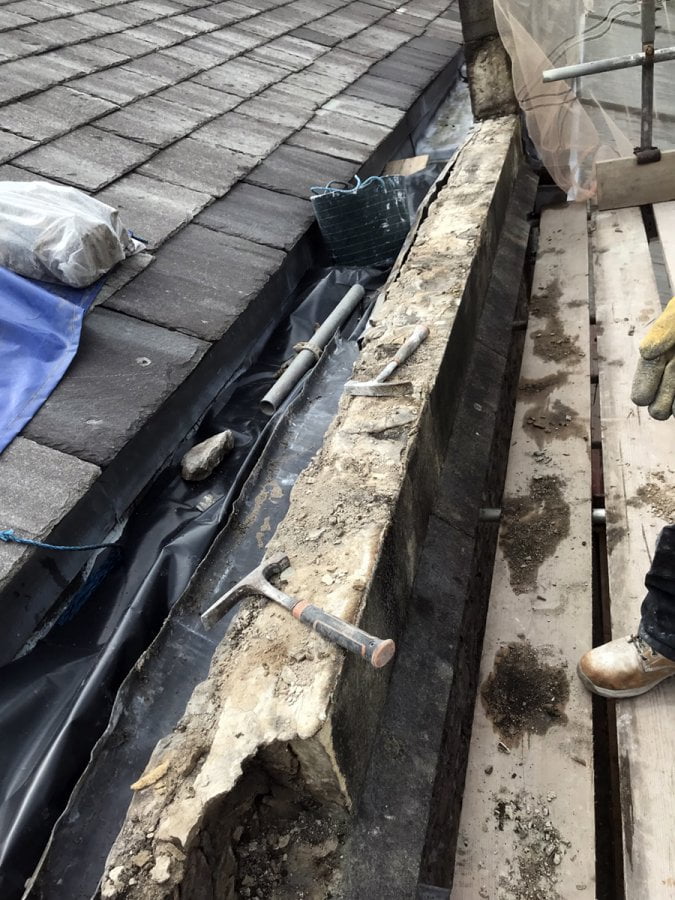
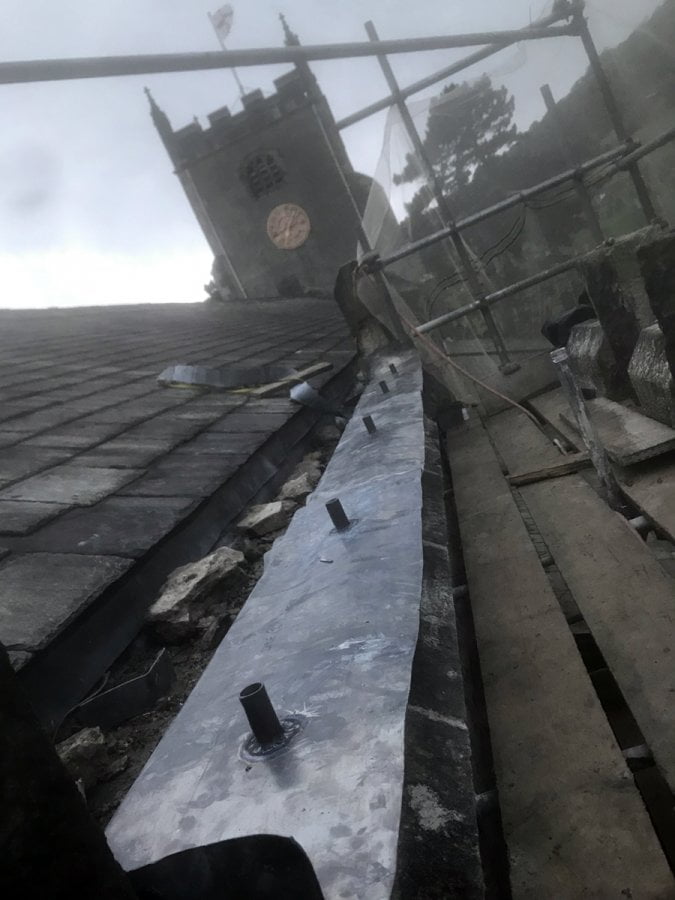
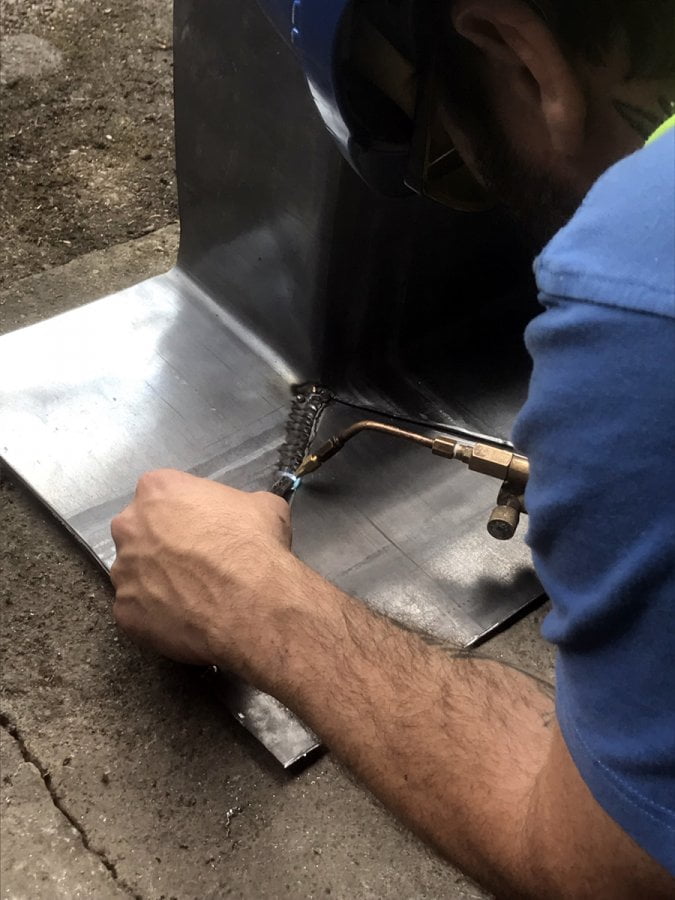
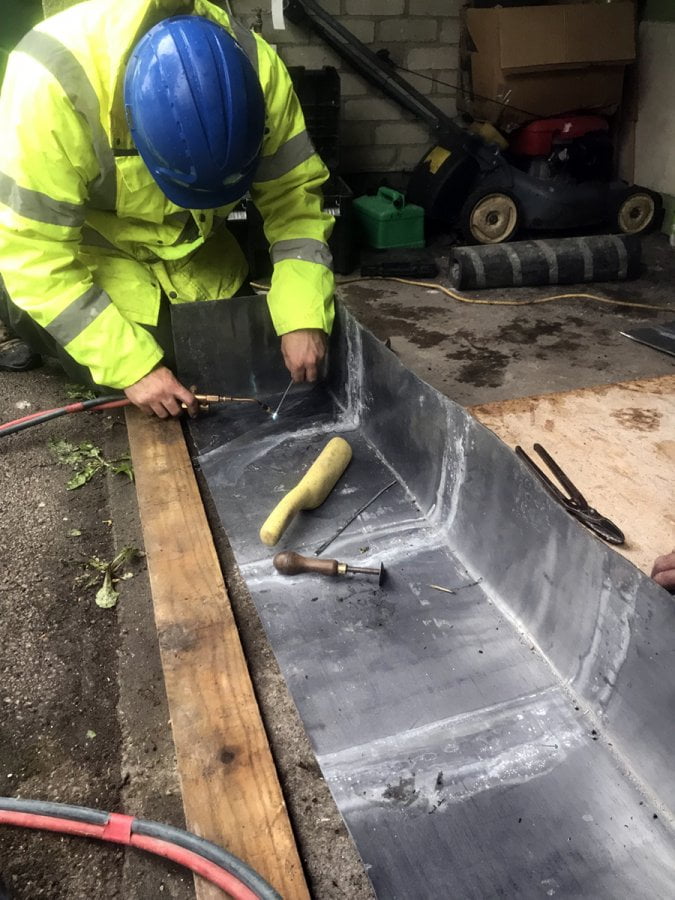
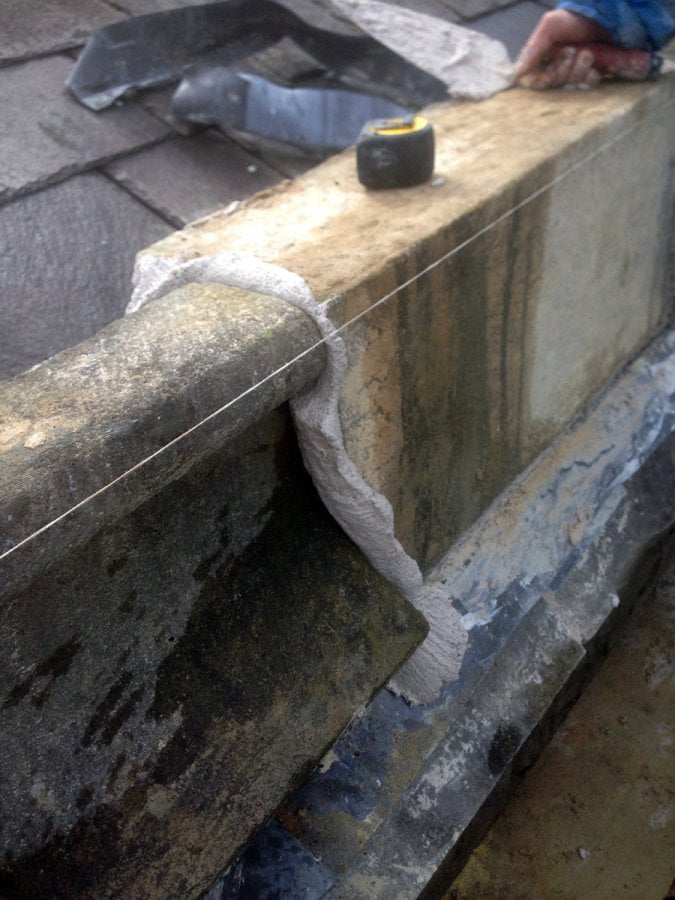
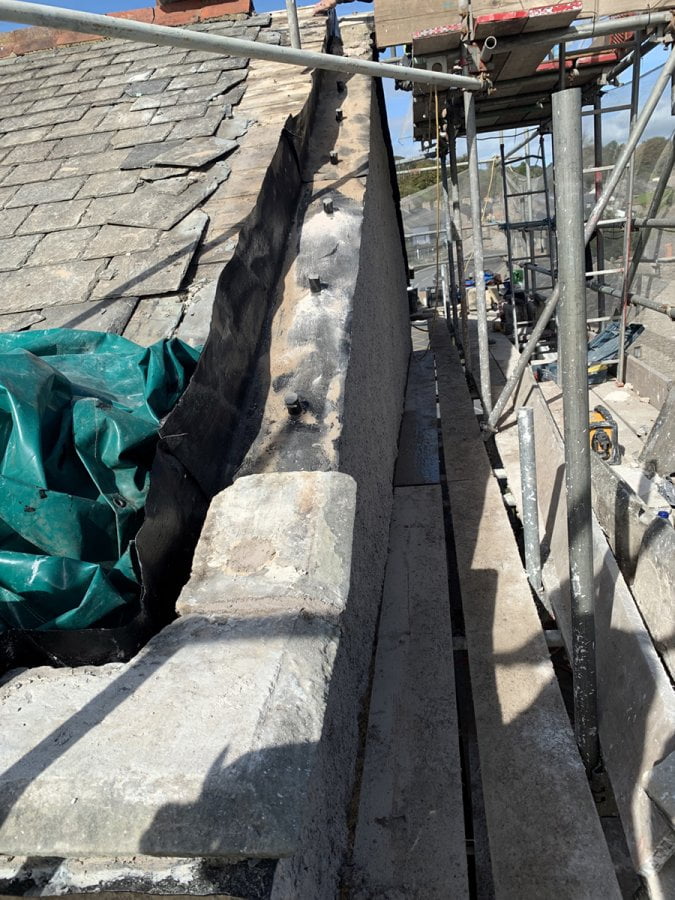
The project also involved the dismantling of the nave parapet due to internal water ingress. We dismantled the three sections of masonry parapet after recording the existing layout and fabricated Code 5 lead cover trays on site, the first of which was to run alongside the lead roof gutter and under the masonry to turn the water out of the wall. The second tray was installed below the coping and flashed to the roof gutter. The lead was painted with two coats of bitumen paint and coated with a fine sand, the bitumen used to prevent the lime mortar from eroding the lead and the sand enabling the lime mortar to grip the lead.
Each course of masonry was pinned together with stainless steel bars. We fixed the bars into the lower stone using epoxy resin. Lead collars were then lead-welded onto the tray to prevent water ingress around the bars. The top stone was cored out to accept the bar and collars, no epoxy resin was used here to allow dismantling of the parapet at a later date.
The parapet was rebuilt using lime mortar. We used a hot mixed lime mortar blended with a hydraulic lime which was used hot. Our restoration technicians ensured the vertical joints were fully mortared with the minimal joint size and the excess lead was trimmed from the parapet then neatly dressed to the masonry. All corners were lead-welded to ensure a water-tight seal.
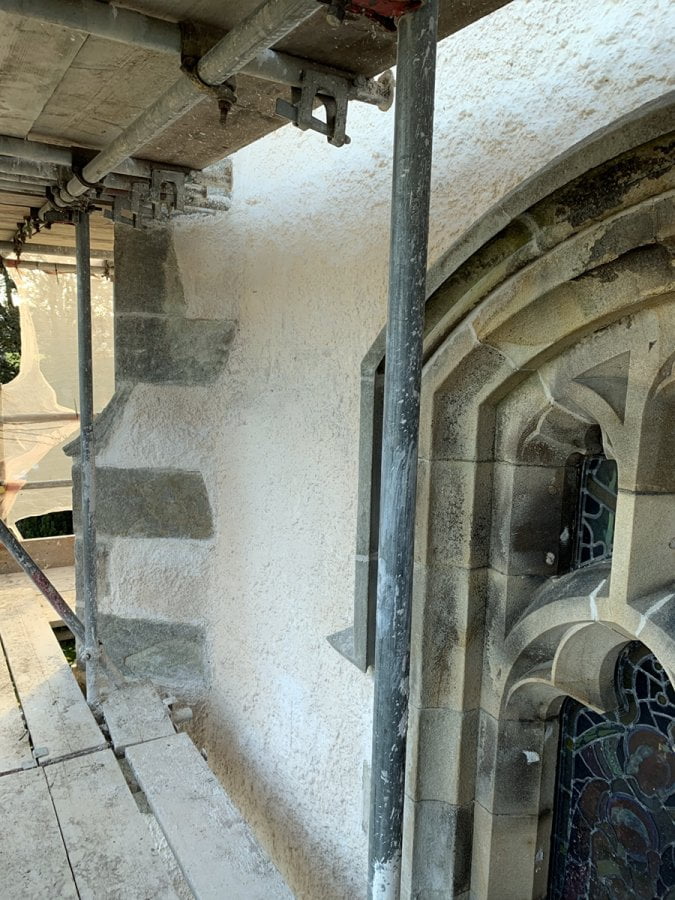
Chancel Gable
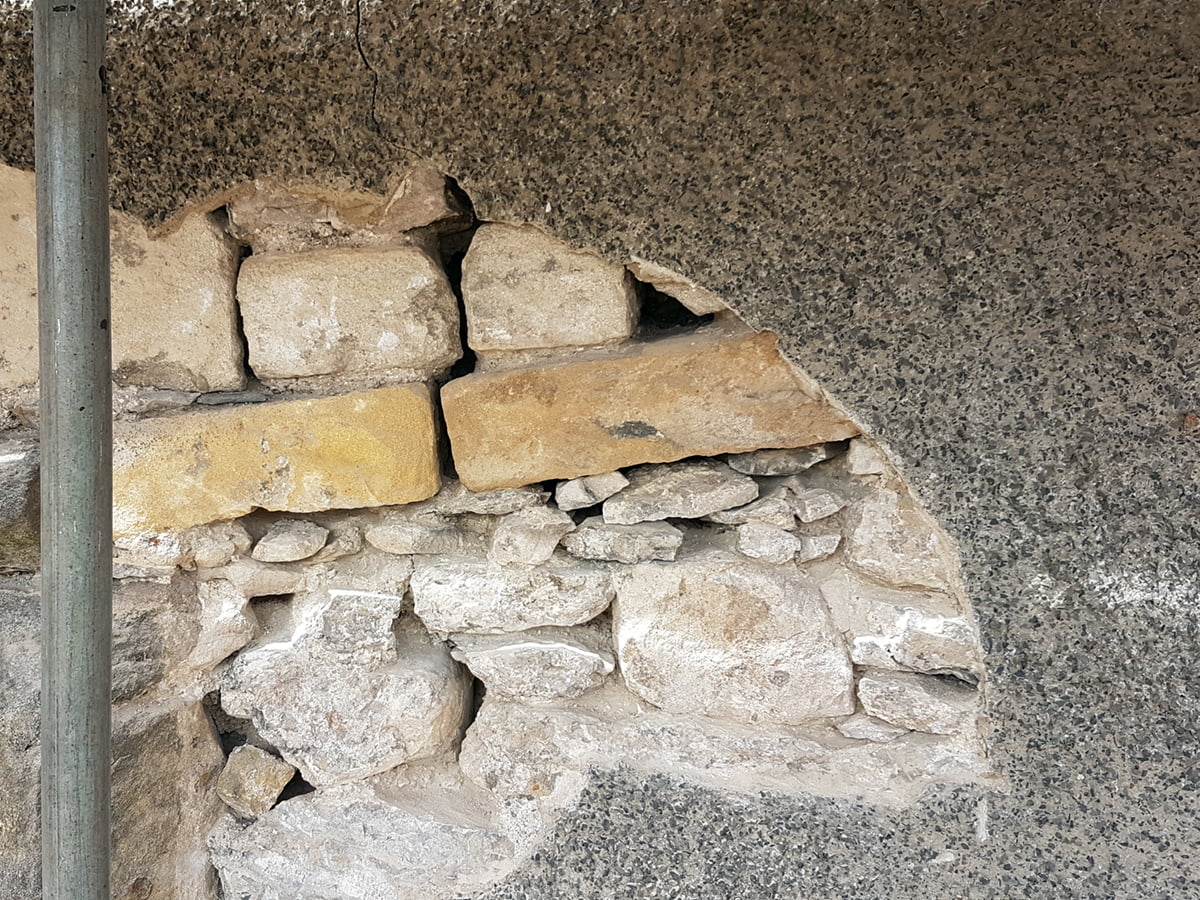
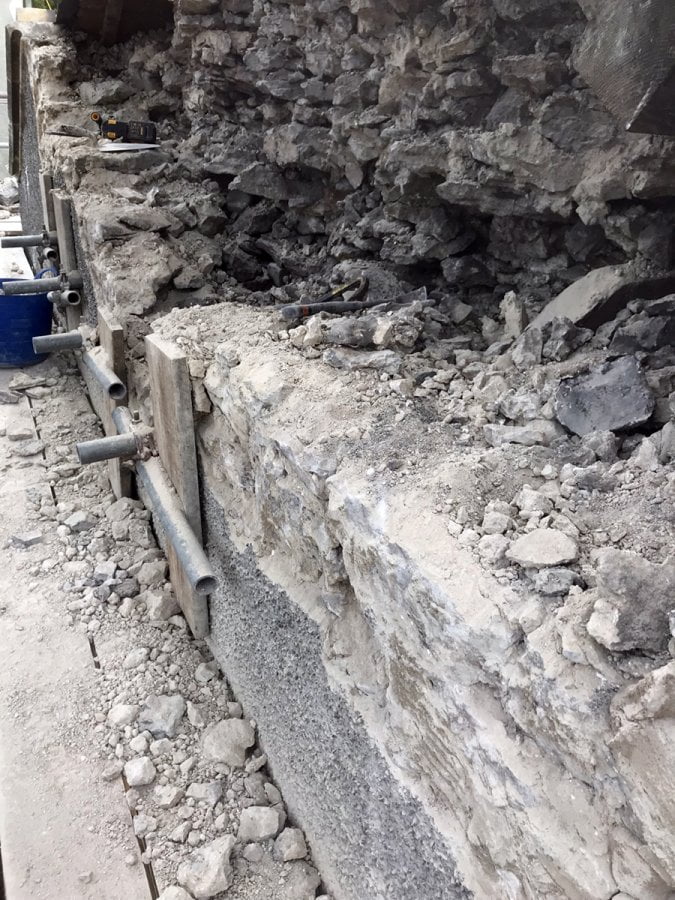
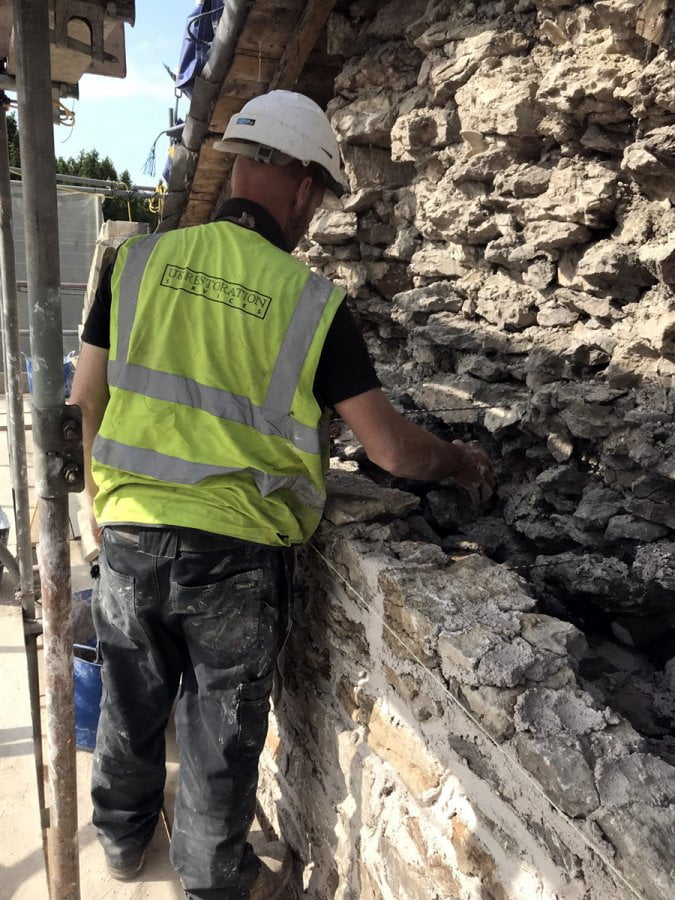
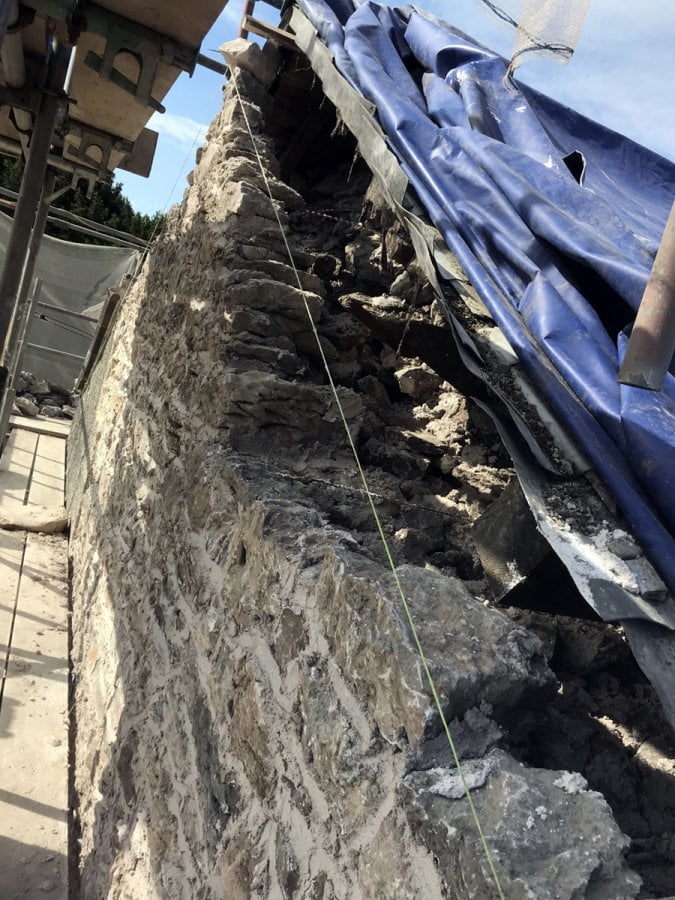
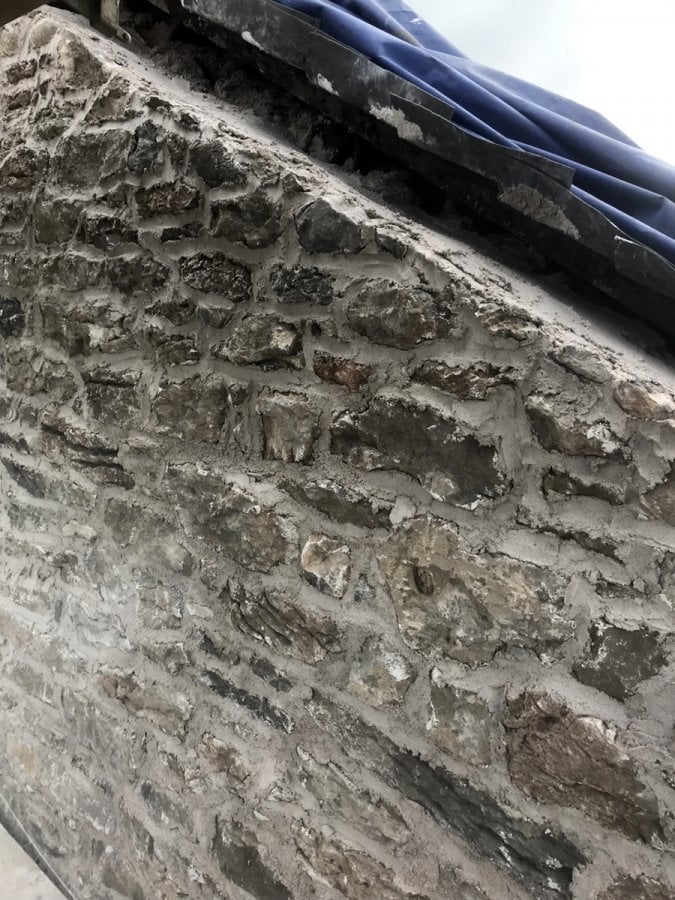
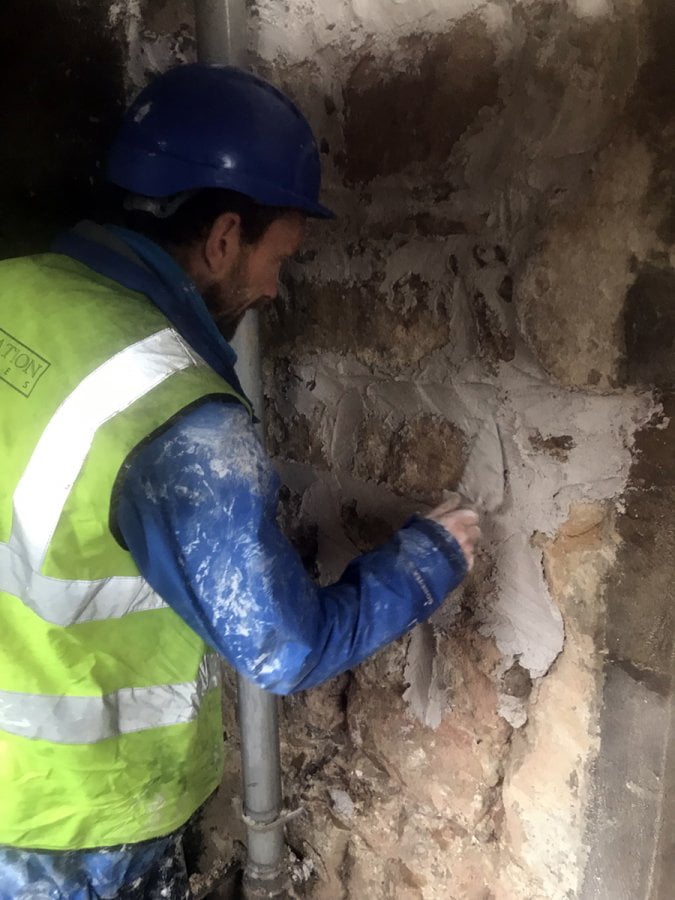
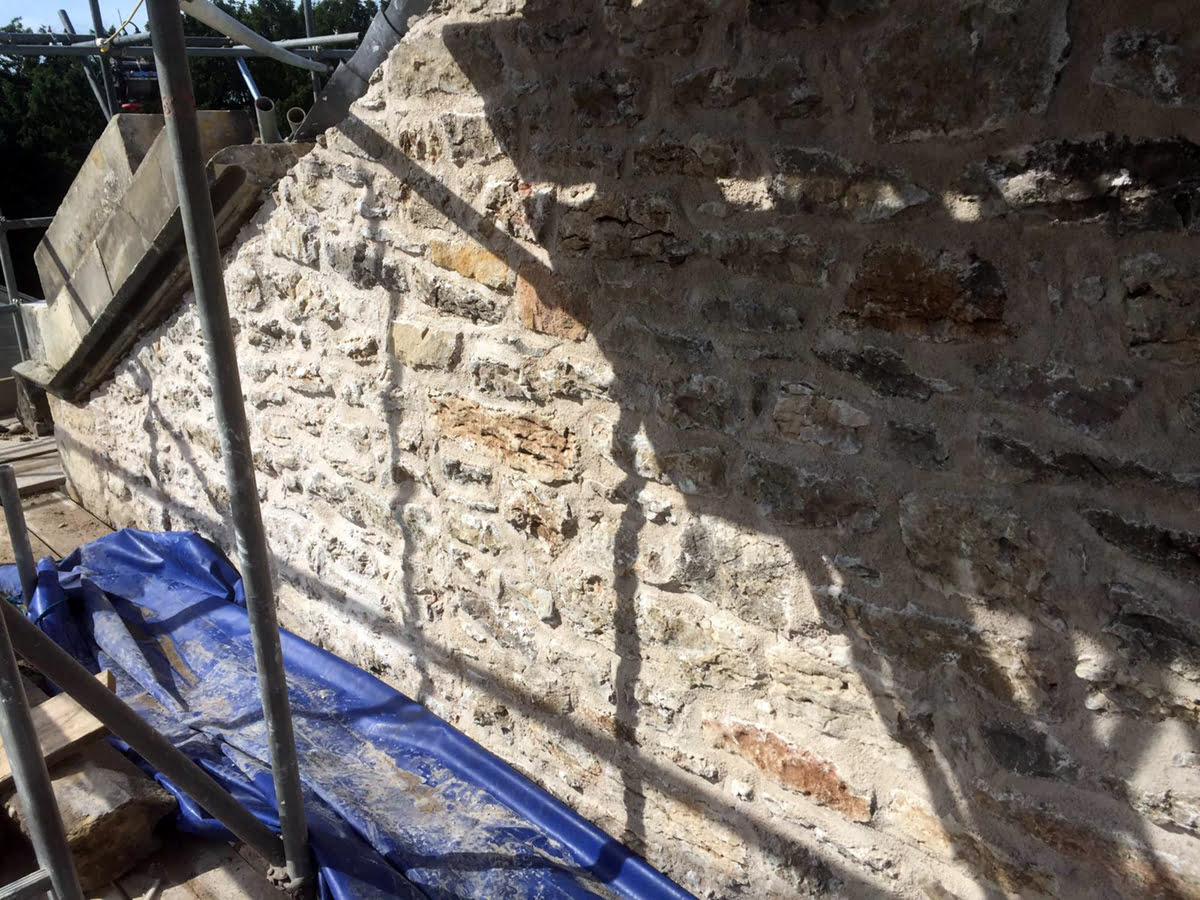
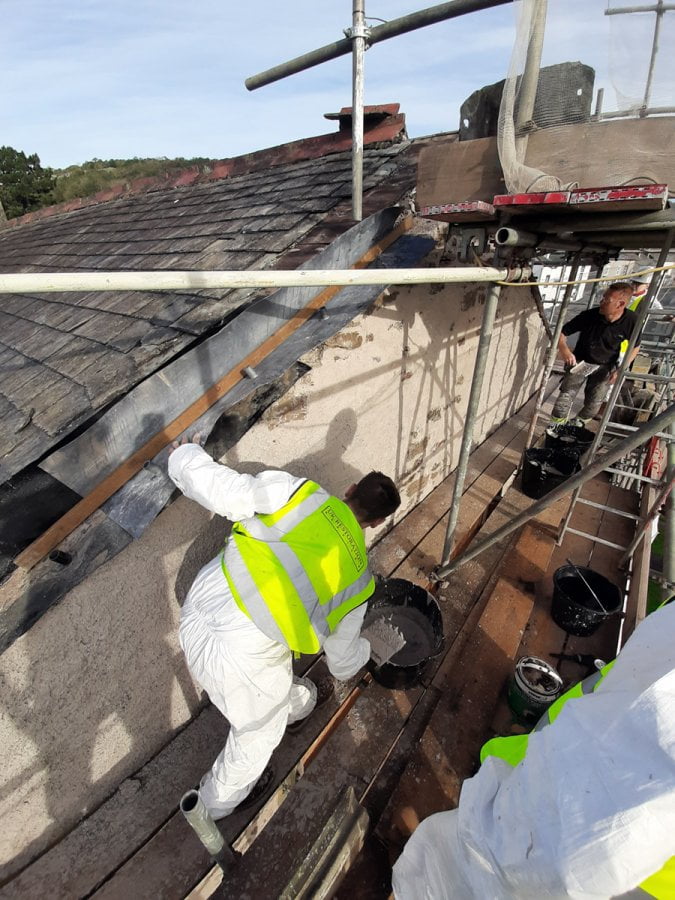
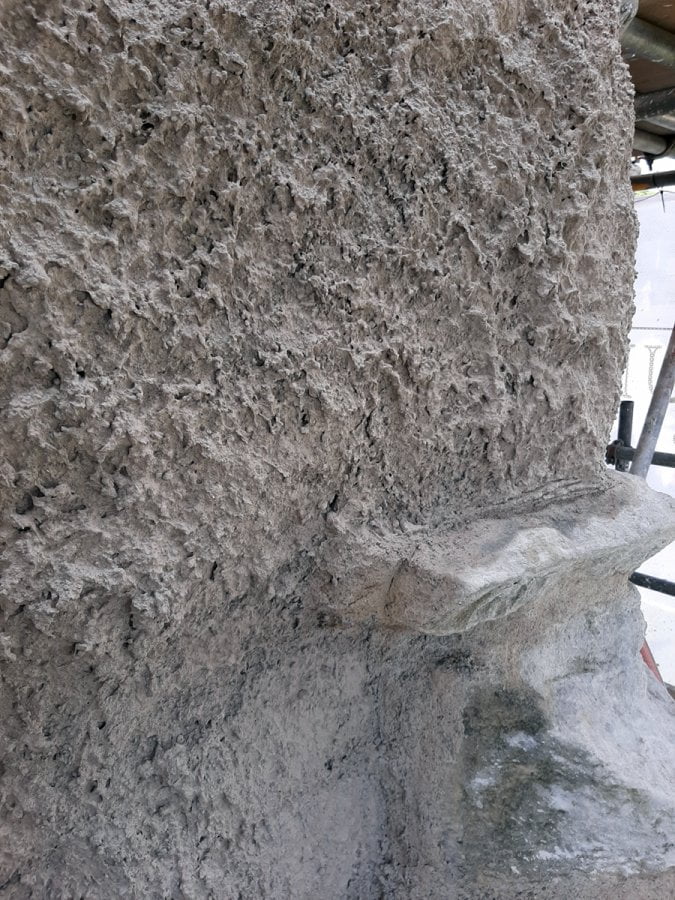
The hard-cementitious mortar was removed from the chancel, revealing large voids in the masonry where the original lime mortar had decayed. Using a hot mixed lime mortar, we packed and filled the voids in the masonry. Pinning stones were required where the voids were large, and we applied a heavy gauge pointing to the masonry ready to receive the two harl coats.
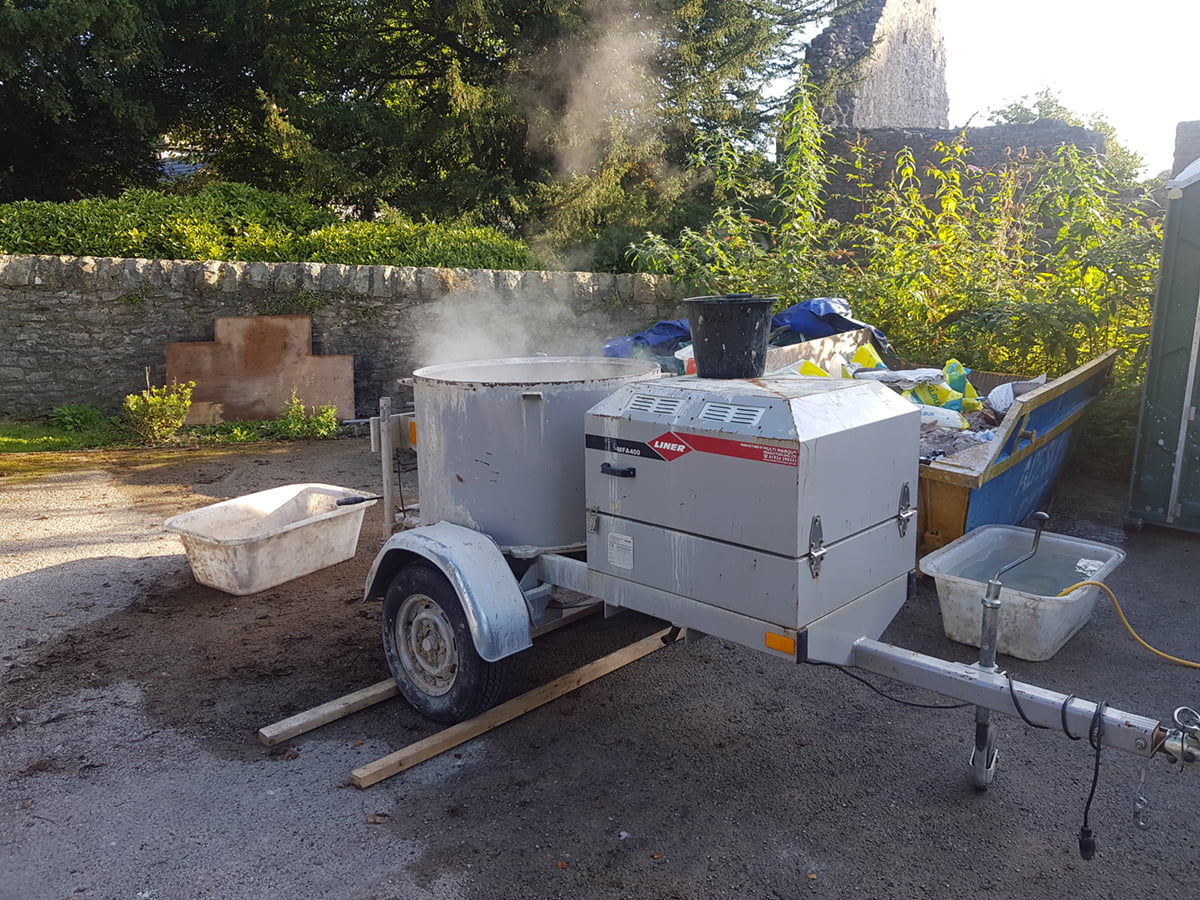
The mortar for the two harl coats was again hot mixed lime mortar gauged with a hydraulic lime. We used our large pan mixer for the harl as the render was required in large volumes. Three coats of hot-mixed lime wash were subsequently applied to the render.
The harling process was documented using a time-lapse video which can be viewed in a separate article found here – Lime Harling Video.
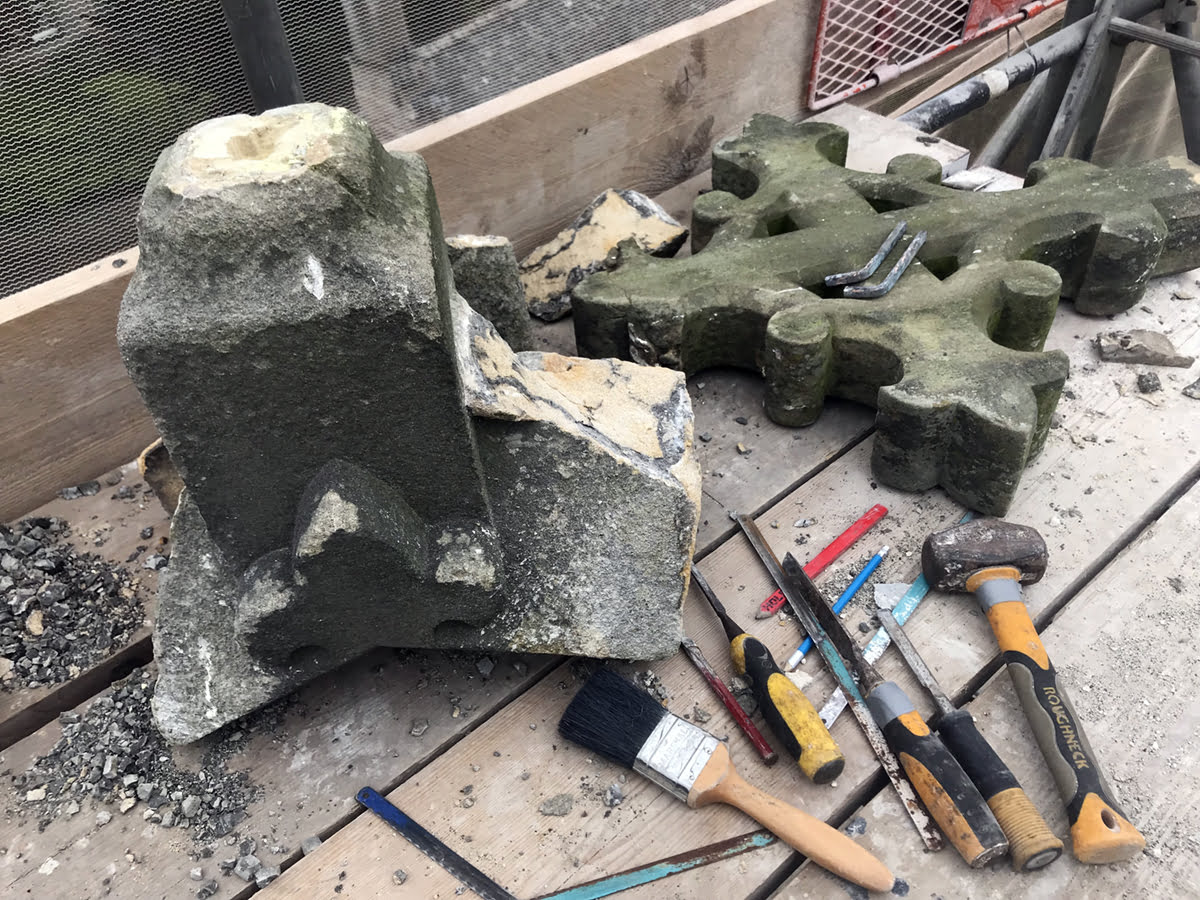
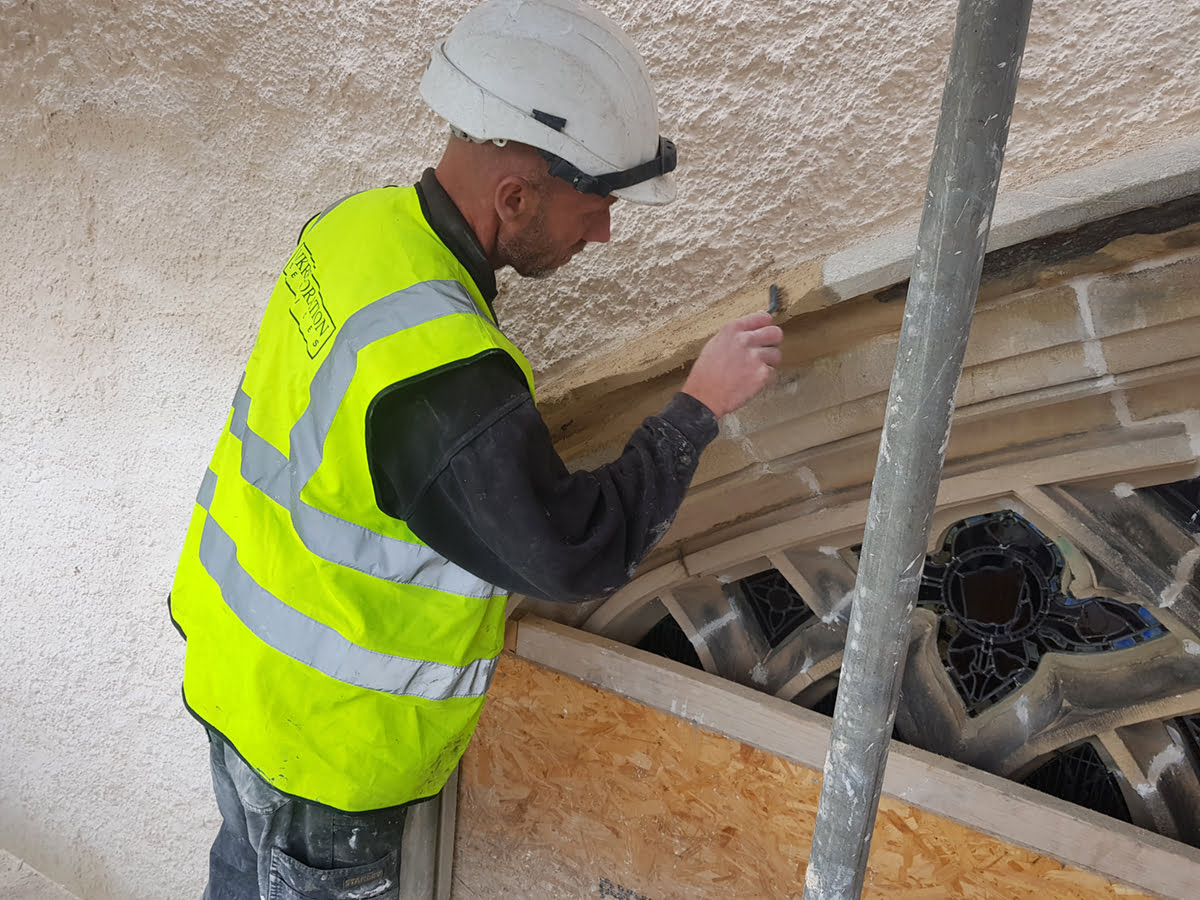
Stone Repair
The final phase of work was the mortar stone repair to the voussoirs on the tracery arch where water penetration to the joints had caused erosion to the stone. We installed carbon fibre armatures to the projection followed with stainless steel wire being wrapped around the carbon fibre to create a tie. Stone repair mortar was then worked up in layers and tooled back to reform the voussoirs profile.
Rev. Robin Figg said: “It was a pleasure to work with both HPA Architects and UK Restoration Services on the chancel repair project at St Oswald’s Church. As custodians of the grade II listed building, the Parochial Church Council was mindful of its responsibility to ensure a high standard of work was carried out to help ensure the future of this important feature within the local community. We were impressed throughout the project with the high standard of craftsmanship by the UK Restoration Services team as they worked on the stone, lead and lime rendering. We look forward to involvement with UK Restoration Services in further repair work on the church building.